If you're looking to breathe new life into your living space, you'll find that family photos offer endless creative possibilities. Your walls can transform from blank canvases into meaningful storytelling spaces that capture life's precious moments. Whether you prefer the timeless appeal of a classic gallery wall or the modern edge of geometric patterns, there's a photo display style that'll match your home's personality. From mixing vintage frames with contemporary designs to creating stunning floor-to-ceiling installations, these 25 innovative ideas will help you showcase your cherished memories in ways you haven't considered before.
Classic Gallery Wall Layout
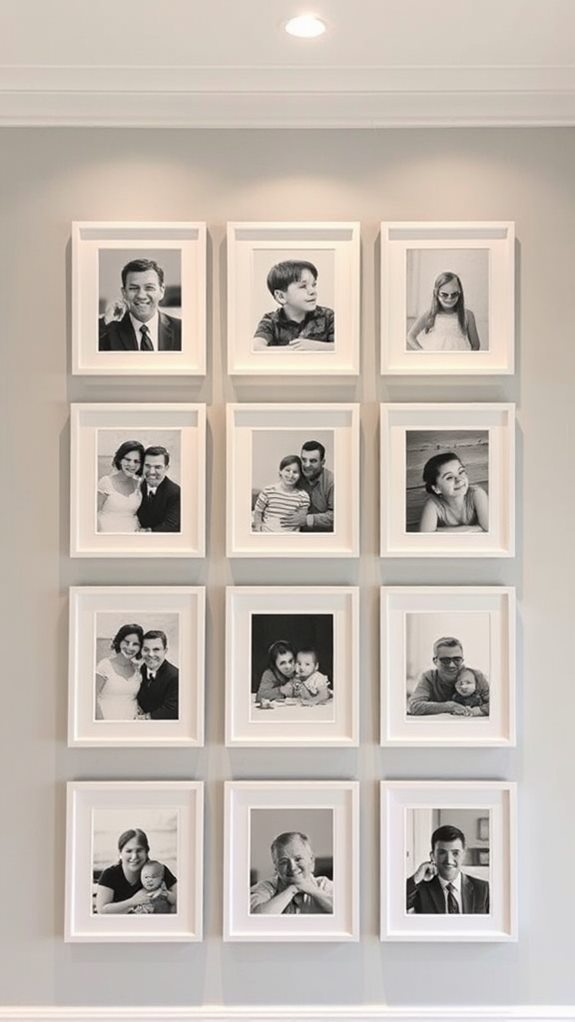
Elegant gallery walls begin with a masterful arrangement of family photos in a symmetrical grid or balanced cluster. You'll want to maintain consistent frame spacing of 2-3 inches between each piece to create a cohesive look. Consider your wall color as the canvas that will either complement or contrast with your chosen frames.
When designing your classic layout, start with larger pieces at the center and work your way outward with medium and smaller frames. You'll achieve the most polished result by first arranging your frames on the floor, then transferring the pattern to kraft paper for a precise wall template. Keep your composition balanced by distributing visual weight evenly, mixing horizontal and vertical orientations while maintaining clean lines that draw the eye naturally across your curated display.
Geometric Frame Patterns
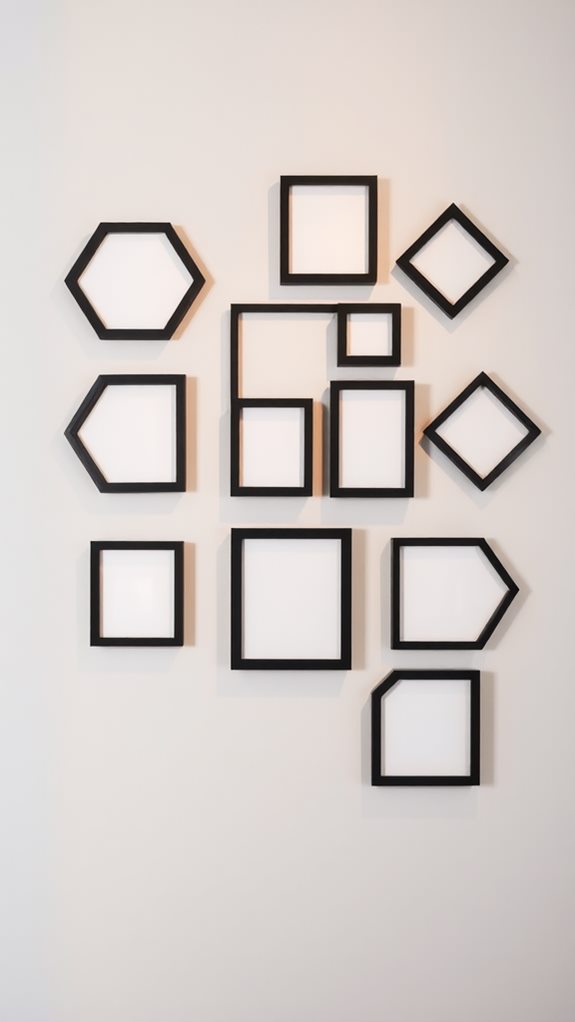
Geometric patterns transform family photo displays into striking architectural statements that command attention. By arranging frames in hexagonal, diamond, or triangular configurations, you'll create a modern, dynamic focal point that elevates your space beyond traditional layouts.
Mix frame sizes and shapes while maintaining clean lines and deliberate spacing to achieve asymmetrical arrangements that feel balanced. Consider creating three dimensional displays by layering frames at varying depths or incorporating floating shelves within your geometric design. You'll want to start with a central anchor point and build your pattern outward, ensuring each frame contributes to the overall shape.
For maximum impact, choose frames in complementary finishes and stick to a consistent color palette. This approach helps unite diverse photo sizes while maintaining the integrity of your chosen geometric pattern.
Mixed Frame Materials
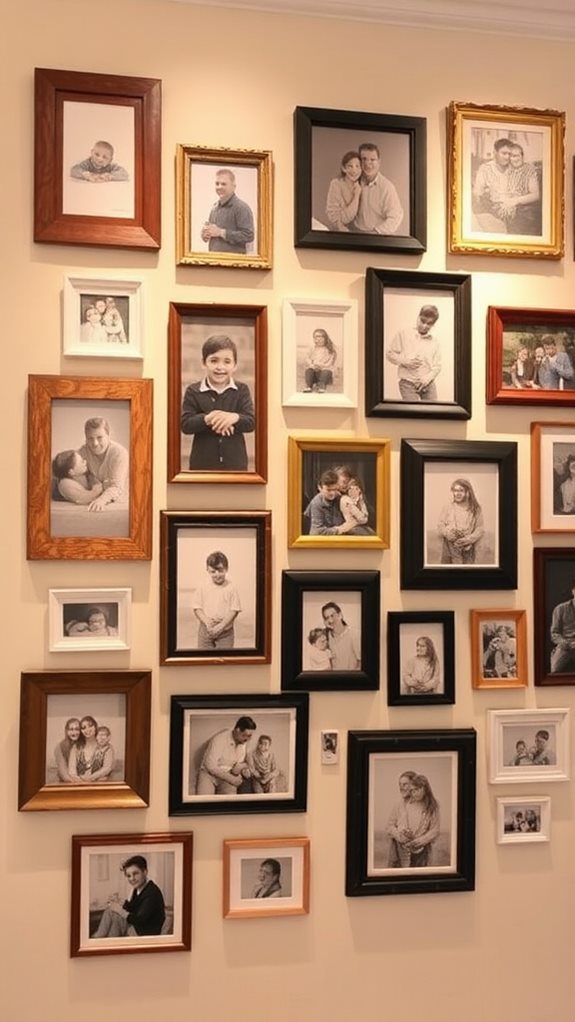
Blending different frame materials adds rich visual complexity to your photo wall, taking the precision of geometric layouts to a more eclectic level. You'll find that mixing metallic, wooden, and acrylic frames creates stunning texture contrast while maintaining color harmony throughout your display.
Consider pairing weathered wooden frames with sleek silver finishes to achieve an artful balance between rustic and modern artistic expression. You can incorporate various frame sizes and eclectic styles while ensuring the overall design balance remains cohesive. Try adding personal touches like vintage metal frames for ancestral photos alongside contemporary lucite holders for recent memories. This approach to visual storytelling allows you to refresh your display with seasonal themes – perhaps using darker woods for fall and lighter materials for spring, keeping your photo wall dynamic and engaging year-round.
Black and White Theme
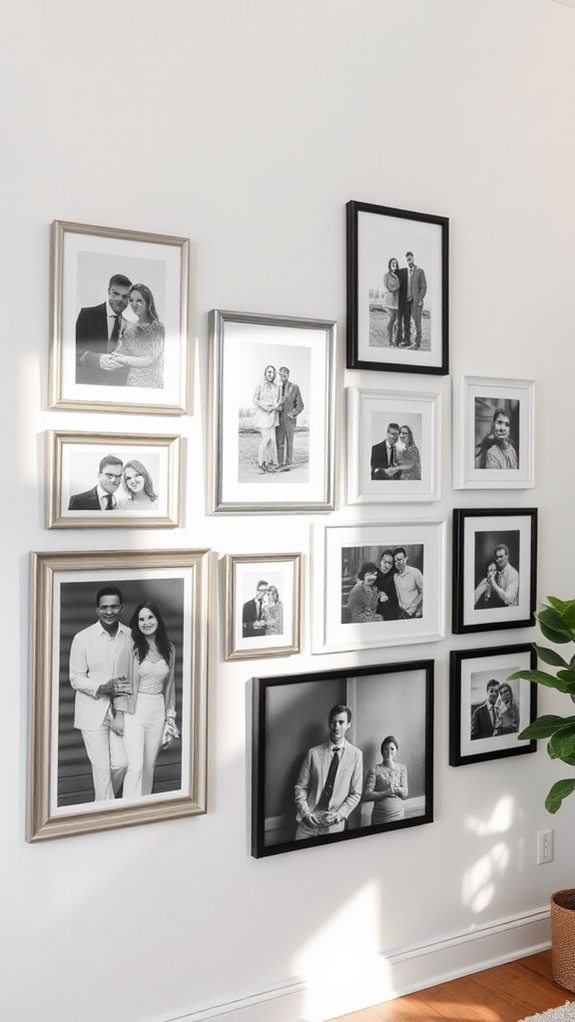
A timeless black and white theme transforms your photo wall into a sophisticated gallery-style display that transcends passing trends. By converting your cherished family photos to black and white, you'll create a cohesive look that emphasizes emotions and compositions rather than competing colors.
Layer your display with varying monochrome textures by mixing matte and glossy prints. You'll want to combine candid family moments with artistic prints that showcase architectural details or landscape silhouettes. Consider incorporating high-contrast photos for visual drama and softer, grayscale images for depth. When arranging your frames, maintain visual balance by alternating between bold, darker images and lighter, airier ones. The result is a curated collection that feels both personal and professionally styled, turning your everyday family photos into a striking artistic statement that'll command attention in any room.
Floor-to-Ceiling Photo Display
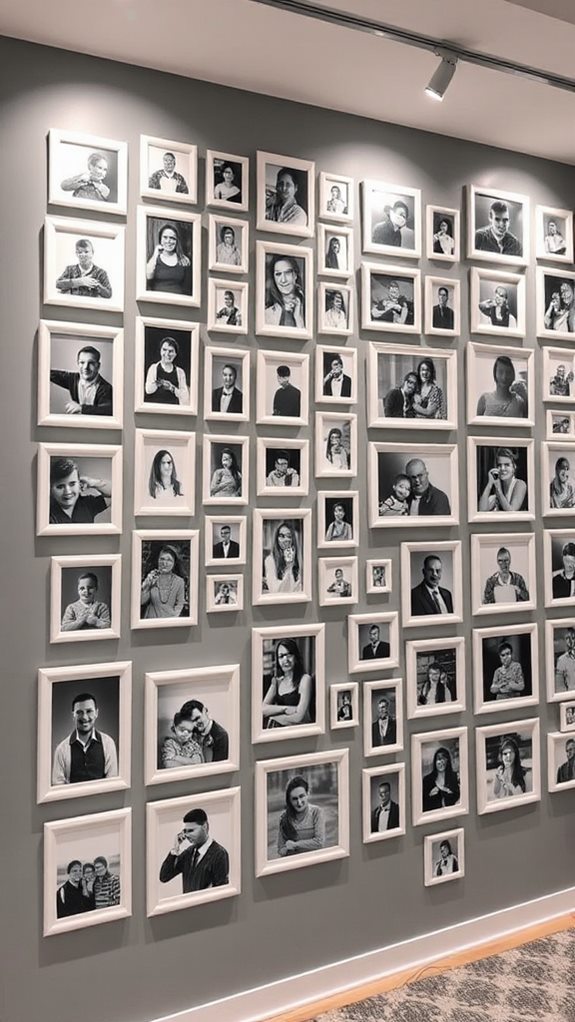
Transform your living space into a dramatic visual narrative by stretching your photo collection from floor to ceiling. This vertical photo arrangement maximizes your wall's potential while creating an immersive gallery experience that draws the eye upward, making your room appear taller and more spacious.
When planning your floor-to-ceiling display, start with larger family portrait ideas at eye level, then work your way up and down with progressively smaller images. You'll want to maintain consistent spacing between frames to achieve a polished look. Consider using a mix of frame sizes but stick to complementary finishes to guarantee visual cohesion. For easier installation, create a paper template of your layout first, and use a laser level to guarantee perfect alignment across your vertical arrangement.
Floating Shelf Photo Arrangement
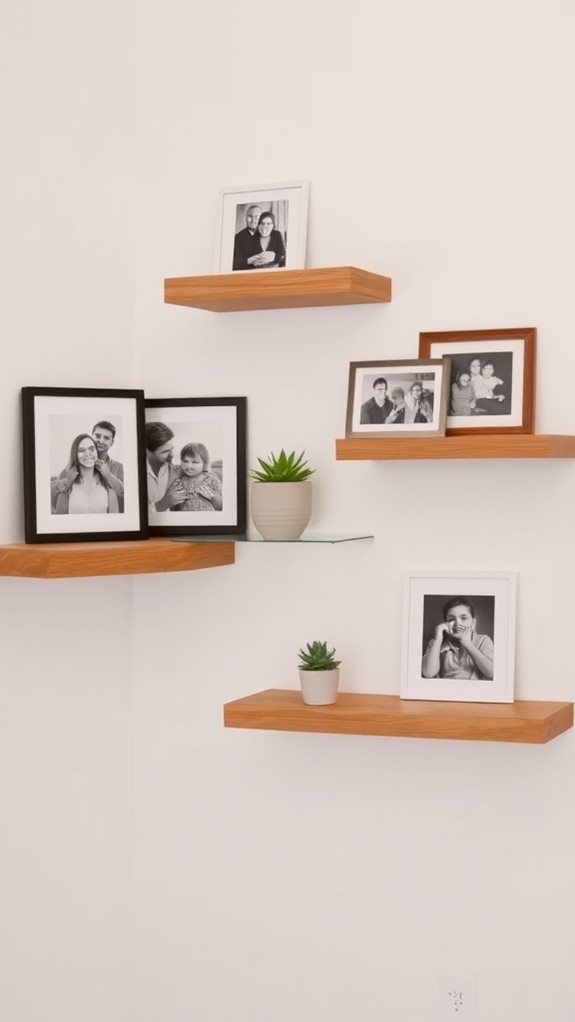
While vertical displays command attention, floating shelves offer an elegant alternative that brings depth and dimension to your family photo presentation. By layering frames of varying sizes and orientations, you'll create a sophisticated visual narrative that draws the eye across multiple planes.
Master shelf styling by placing larger frames at the back and smaller ones in front, allowing each photo to remain visible. You'll want to maintain breathing room between pieces while experimenting with photo curation that tells your family's story. Mix black-and-white prints with color photos for added visual interest, and incorporate small decorative objects between frames to break up the monotony. Consider installing three to five shelves at staggered heights to achieve an asymmetrical balance that feels both intentional and artfully composed.
Staircase Photo Journey
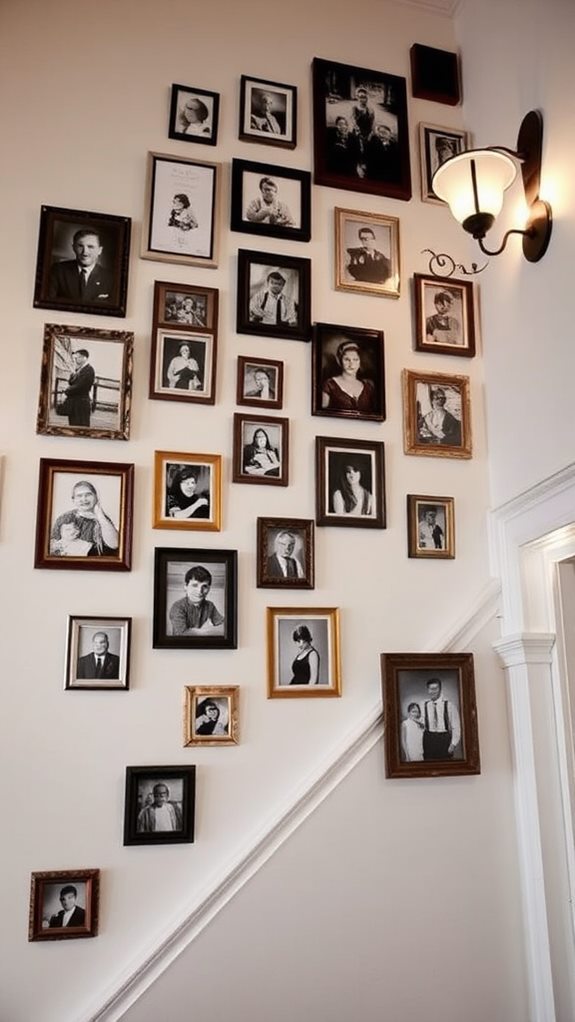
Staircases present one of the most dynamic opportunities to showcase your family's visual history, creating an ascending timeline that unfolds as you climb. Transform this evolving space by arranging photos chronologically, starting with vintage family shots at the bottom and progressing to recent candid moments near the top.
Consider mixing frame sizes and styles while maintaining a cohesive color scheme. You'll want to space frames about 2-3 inches apart, creating visual breathing room that allows each photo to tell its sentimental stories. For maximum impact, position larger frames at eye level and smaller ones above or below. Incorporate both black-and-white and color photographs to add depth and visual interest. Remember to secure frames properly, ensuring they're perfectly level despite the staircase's ascending angle.
Minimalist Single-Line Display
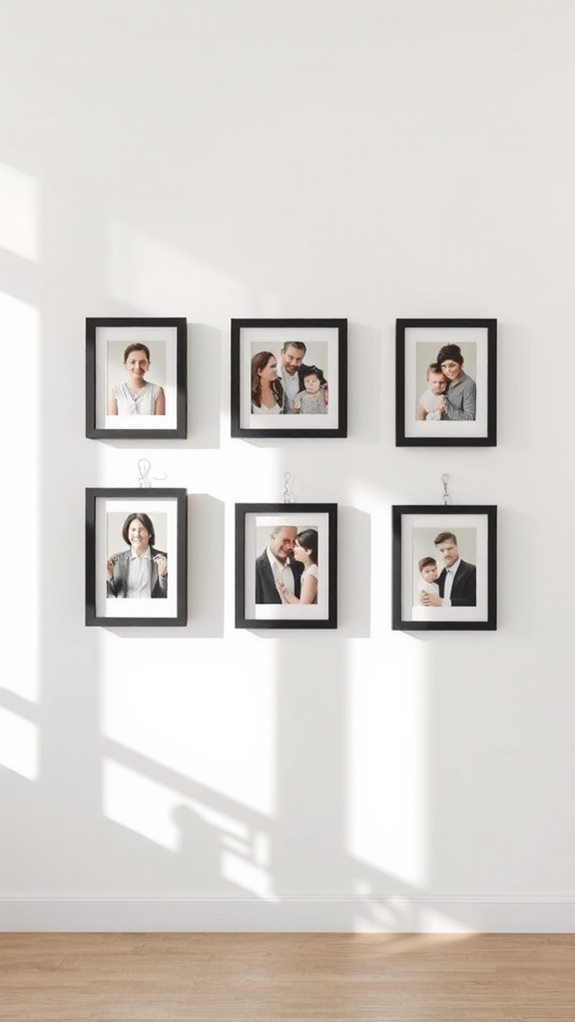
A single, elegant line of photographs can set off striking visual impact when thoughtfully arranged along a prominent wall. You'll create a minimalist aesthetic that captures attention without overwhelming your space, letting each image breathe and tell its own story.
Consider using photo wire or string art techniques to achieve this linear arrangement. Install a sleek hanging display system that allows you to clip your cherished memories along a taut wire, creating a modern decor statement that doubles as a personal gallery. For the ultimate simple elegance, maintain consistent spacing between frames and align them perfectly horizontal.
This wall accent works particularly well in long hallways or above console tables, where the line art effect draws the eye across the space. You'll find that this photo stringing approach offers both visual harmony and practical flexibility to update your display.
Vintage Frame Collection
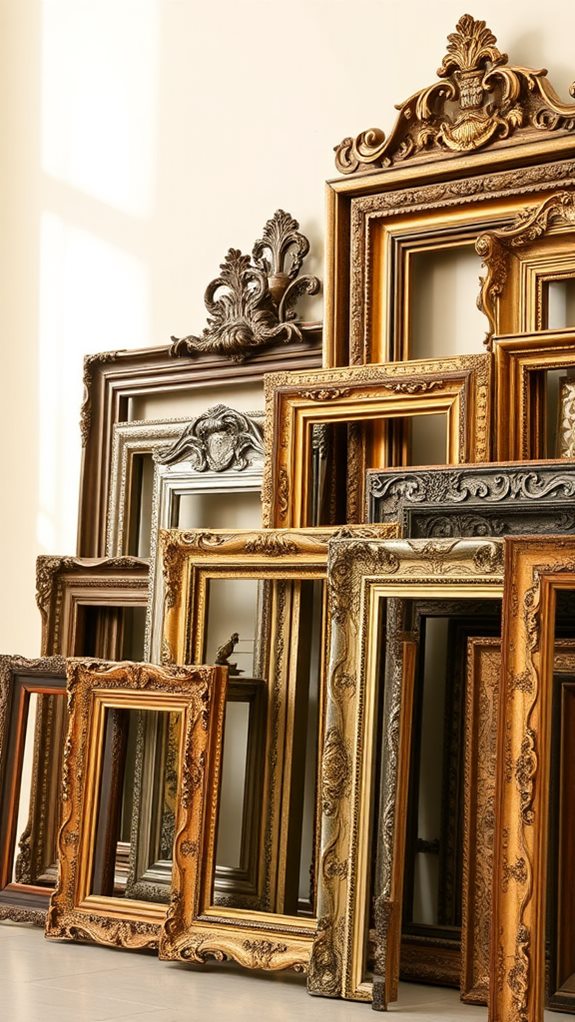
Moving from sleek minimalism to timeless charm, vintage frame collections bring character and history to your family photo displays. You'll create visual interest by mixing different frame styles, from ornate Victorian designs to simple mid-century pieces. The antique finishes, whether gilded, weathered brass, or distressed wood, add depth and nostalgic decor elements to your walls.
For maximum artistic flair, arrange frames of varying sizes in a cohesive gallery wall. You'll want to blend retro designs while maintaining aesthetic harmony – try grouping similar finishes together or creating a gradient effect. Your family heritage shines through when you pair contemporary photos with vintage frames, achieving timeless elegance that tells your family's story. Consider incorporating period-appropriate frames that match the era of older family photographs for an authentic vintage aesthetic.
Photo Ledge Layering
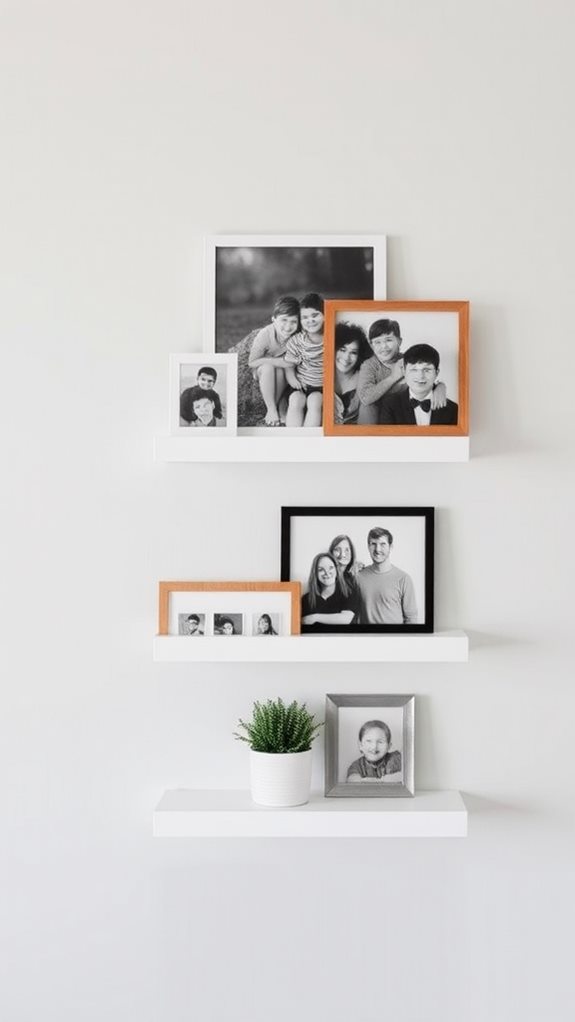
Photo ledge's versatile design offers a fresh approach to displaying family memories with effortless sophistication. By mastering essential ledge styling techniques, you'll create depth and visual interest through strategic layering of different-sized frames and decorative elements.
Position larger photos at the back of your ledge, then layer medium-sized frames slightly forward. Add smaller frames and meaningful objects in the foreground to create a multi-dimensional display. You'll want to vary frame heights and widths while maintaining balanced spacing between pieces. For ideal photo arrangement tips, consider incorporating a mix of color and black-and-white images to add visual contrast.
Don't forget to leave breathing room between groupings – this prevents your display from appearing cluttered while allowing each cherished memory to command attention within your curated collection.
Grid Pattern Layout
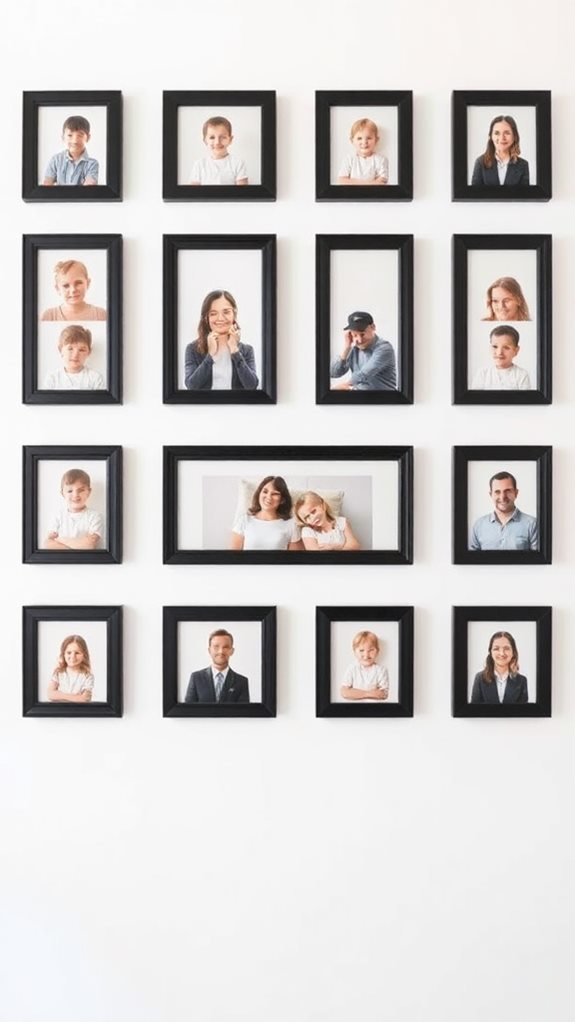
Within modern home design, grid pattern layouts offer timeless elegance through their clean lines and structured symmetry. When you're planning your photo organization, start by selecting frames of identical size and style to maintain visual consistency. Space your frames evenly, keeping roughly 2-3 inches between each one to create a balanced, cohesive arrangement.
Consider your wall color when designing your grid – light-colored walls make black frames pop dramatically, while white frames create a softer, more subtle effect. You'll want to measure your entire wall space first, then work backward to determine how many frames will fit perfectly in your desired configuration. Position your grid at eye level, and use a level and measuring tape to guarantee precise alignment. This methodical approach ensures a professional-looking display that'll transform your space.
Corner Gallery Design
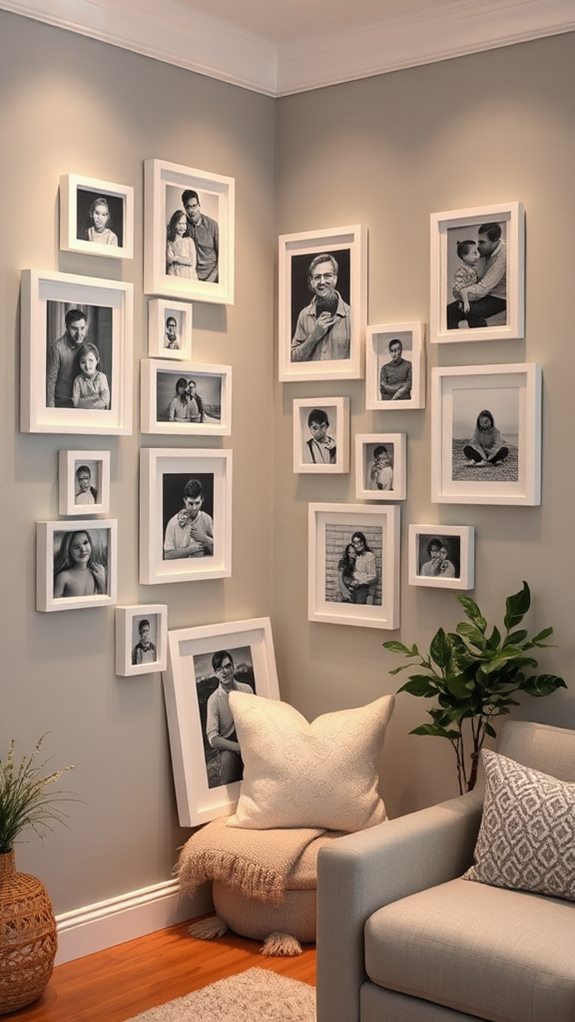
Three distinct walls converge to create an opportunity for a striking corner gallery display that breaks free from traditional flat-wall limitations. You'll discover that corner composition offers unique possibilities for showcasing your cherished family photos in unexpected ways. By extending your gallery around the corner, you're creating visual intrigue that draws the eye naturally through the space.
Work with creative angles by positioning larger frames at the corner's center, then radiating outward with smaller pieces. You can enhance depth perception by alternating frame depths and styles while maintaining a cohesive look. Consider using floating shelves that wrap around the corner to add dimensional interest. Your corner gallery becomes more than just a collection of photos—it's an architectural feature that transforms an often-overlooked space into a dynamic focal point.
Family Tree Wall Display
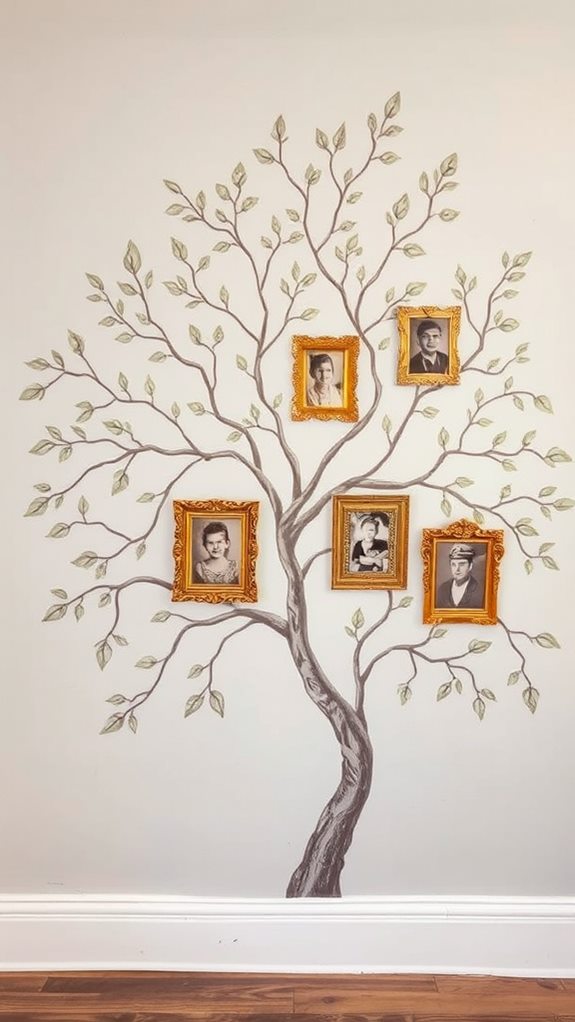
A family tree wall display elevates your photo arrangement into a meaningful artistic narrative that traces your lineage through generations. Create visual tree branches that connect ancestral portraits, arranging them chronologically to showcase your family's heritage timeline. You'll want to position generational photos strategically, placing older images toward the top and newer ones flowing downward.
Consider using custom frames that complement your heritage wall while maintaining aesthetic harmony. Incorporate family milestones and lineage stories through small plaques or captions beneath each photo. For added sophistication, you can integrate delicate vinyl decals of tree branches to visually connect your family connections. Choose frames in coordinating finishes to guarantee your legacy display maintains a cohesive look while honoring your ancestors' journeys through time.
Oversized Statement Pieces
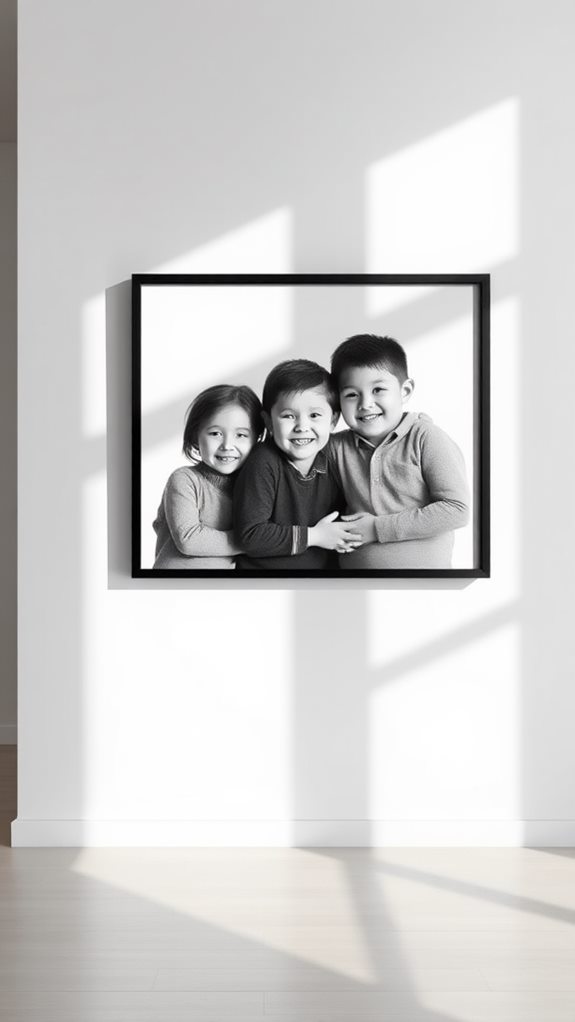
Large-scale photographs transform ordinary walls into enchanting focal points that command attention in any room. When you select an oversized portrait of a cherished family moment, you're creating an immediate conversation piece that dominates the visual landscape of your space.
Consider placing a single large-scale artwork above your living room sofa or dining room buffet, where it can anchor the entire room. You'll want to maintain proportion by ensuring your oversized piece occupies about two-thirds of the furniture width beneath it. For maximum impact, choose photographs with clean compositions and strong emotional resonance. Black and white portraits work particularly well in this format, lending a timeless sophistication to your decor. To enhance the dramatic effect, frame your oversized pieces with simple, elegant borders that don't compete with the image itself.
Symmetrical Photo Arrangement
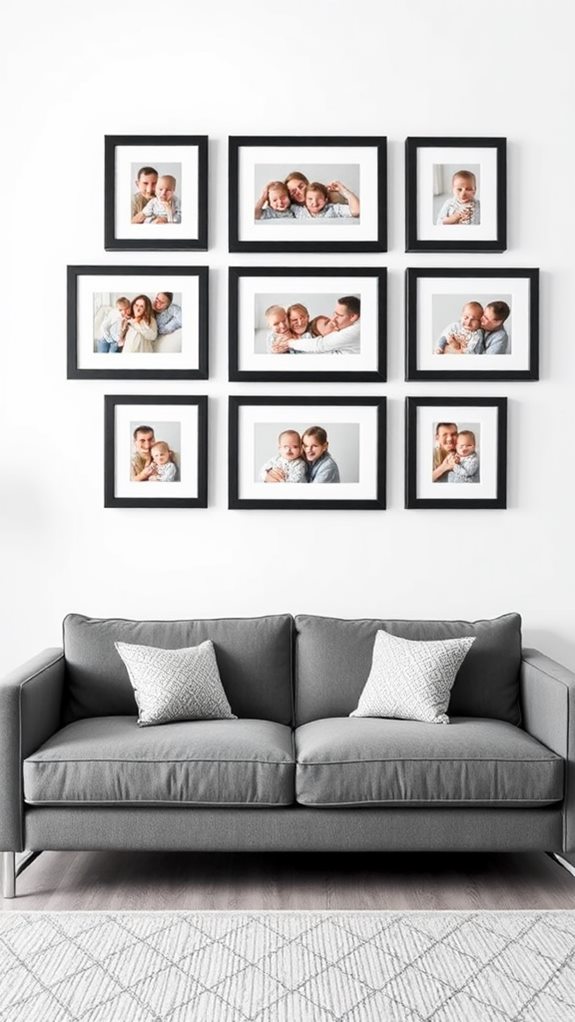
Through careful placement and meticulous planning, symmetrical photo arrangements create a sense of refined balance that instantly elevates your wall's visual appeal. Start by establishing a central focal point, then work outward with matching frames of equal size and spacing to achieve perfect symmetrical balance.
You'll want to select frames that complement each other in style and finish, arranging them in mirrored positions on either side of your center point. Consider using identical frame sizes in pairs, creating a grid-like pattern that draws the eye naturally across your display. To maintain visual harmony, keep consistent spacing between frames – typically 2-3 inches works best. Before mounting, lay out your arrangement on the floor and use kraft paper templates on the wall to guarantee precise placement. This methodical approach assures a polished, gallery-worthy result.
Natural Wood Frame Collection

Natural wood frames bring out the organic warmth in your cherished family photos while adding rustic sophistication to any wall space. You'll find that mixing different frame sizes creates visual interest, while maintaining a cohesive look through consistent frame materials and natural finish.
To maximize rustic charm, select frames with varying wood accents and textures that complement your wall texture. Consider combining light pine, rich walnut, and weathered oak framing styles to add depth to your photo arrangement. You can enhance the display's impact by alternating horizontal and vertical orientations while keeping the wood tones within the same family. For a polished look, maintain 2-3 inches of spacing between frames, allowing each photo to breathe while preserving the collection's unified appearance.
Modern Metal Frame Display
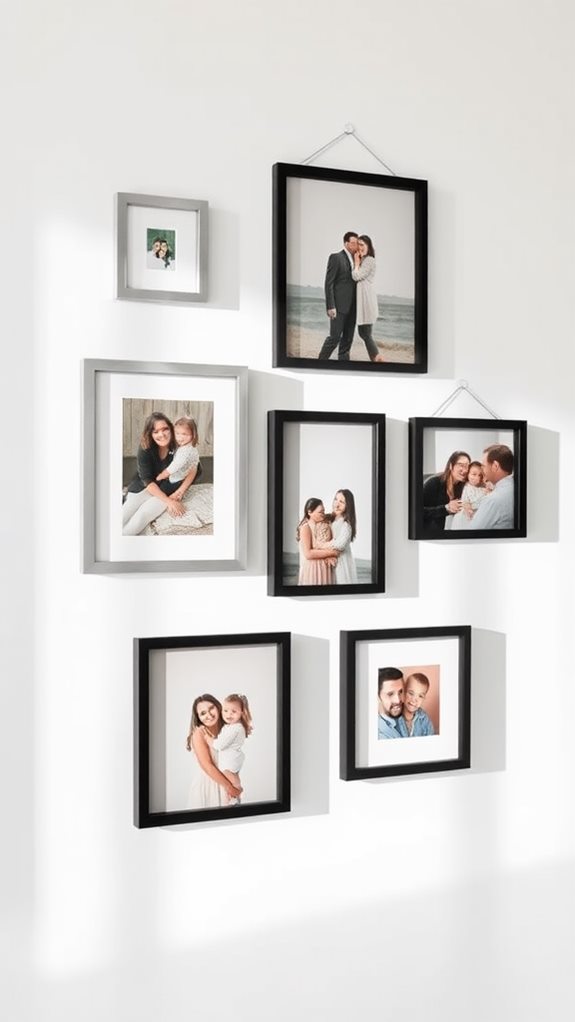
Metal frames offer a sleek, contemporary aesthetic that instantly modernizes your family photo display. Embrace industrial chic by selecting brushed aluminum or matte black frames that complement your existing light fixtures and wall texture. You'll create a cohesive look by maintaining minimalist aesthetics throughout your arrangement.
Transform your family milestones into statement art by carefully curating photos with similar color pops or tonal values. Consider artistic layering by varying frame sizes and depths, creating visual interest without overwhelming the space. You can easily refresh the display with seasonal updates, switching out photos while maintaining the sophisticated metal framework. When arranging your collection, keep spacing consistent for a polished look, and don't hesitate to mix horizontal and vertical orientations to achieve perfect aesthetic harmony in your space.
Memory Wall Clock Design
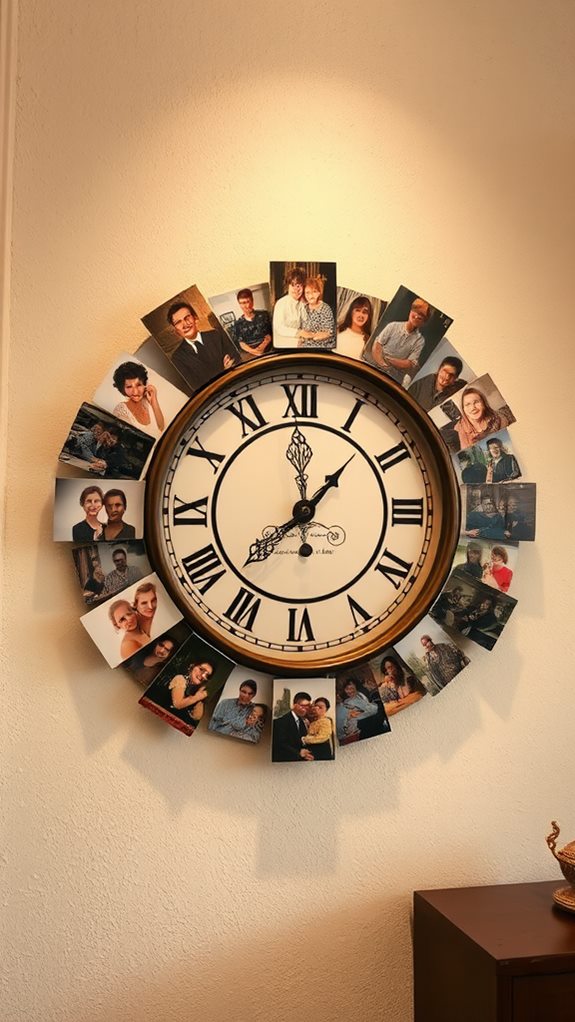
Transforming an ordinary timepiece into a personalized memory wall clock creates a stunning focal point that merges function with family sentiment. You'll want to select a large clock face as your base, positioning cherished family photos at each hour mark using sophisticated memory preservation techniques.
Choose photos that span different generations and arrange them chronologically around the clock's circumference, creating a visual timeline of your family's journey. You can explore unique clock designs, from minimalist metal frames to ornate vintage-inspired pieces that complement your existing décor. Consider mixing black-and-white prints with color photos to add visual depth, and guarantee proper spacing between images to maintain aesthetic harmony. For added impact, incorporate small decorative elements or meaningful quotations between the photos to fill any negative space naturally.
Mixed Media Photo Collage
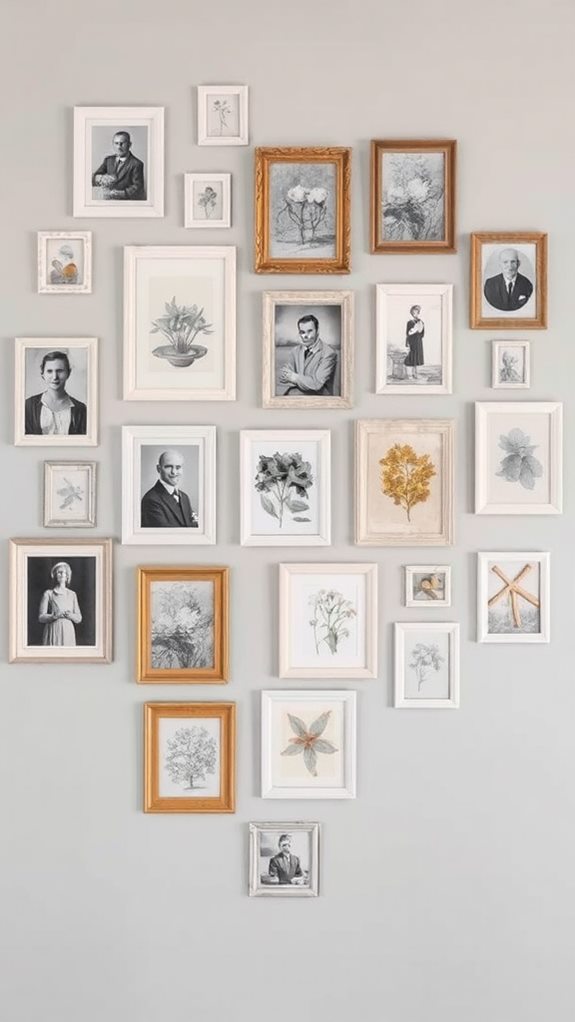
While a memory wall clock offers dynamic chronological display, mixed media photo collages let you break free from geometric constraints to create rich, layered storytelling on your walls. You'll combine traditional photos with artwork, typography, and textural elements to craft a deeply personal narrative that's visually engaging.
Master photo montage techniques by mixing black-and-white prints with color images, or experiment with creative photo sourcing by incorporating vintage postcards, ticket stubs, and children's artwork. Layer these elements with pressed flowers, delicate fabrics, or metallic accents to add dimension. Consider arranging your pieces in an organic flow rather than rigid rows, allowing each element to complement the others naturally. For cohesion, maintain a consistent color palette or theme throughout your collage, even as you vary textures and materials.
Polaroid Wall Feature
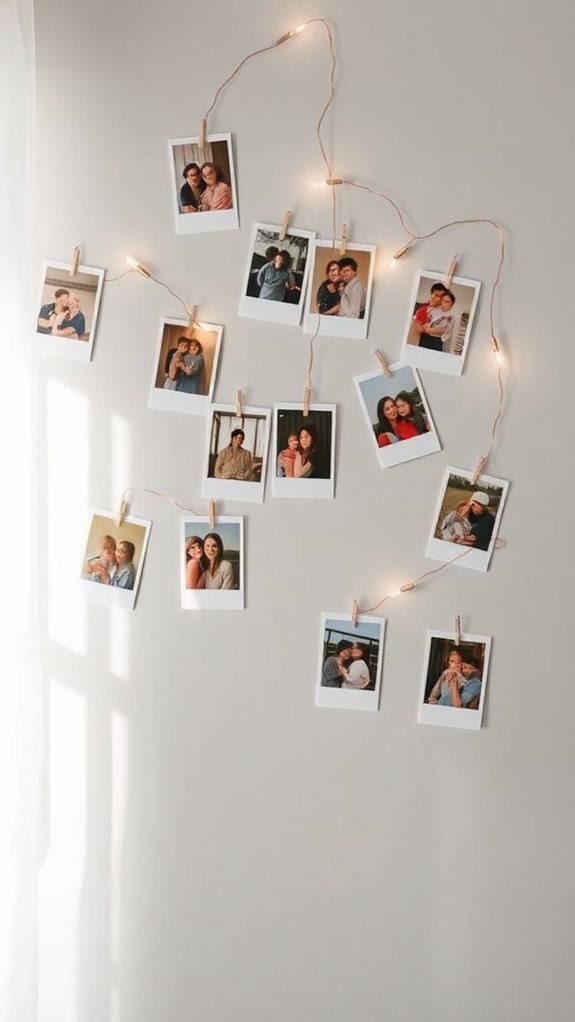
A Polaroid wall feature captures the raw, unfiltered charm of instant photography while adding a distinctly vintage aesthetic to your space. Create a dynamic display by hanging a Polaroid string across your wall, attaching your cherished snapshots with miniature wooden clothespins. You'll find this approach offers flexibility to update and rearrange your memories as desired.
For a more structured look, craft a Polaroid collage in a geometric pattern, keeping consistent spacing between each photo. You can enhance the display by incorporating LED string lights or metallic washi tape to frame your arrangement. Consider grouping photos by color scheme or chronological order to tell your family's story. The key is maintaining visual balance while letting each image's authentic, nostalgic quality shine through.
Rustic Rope Display
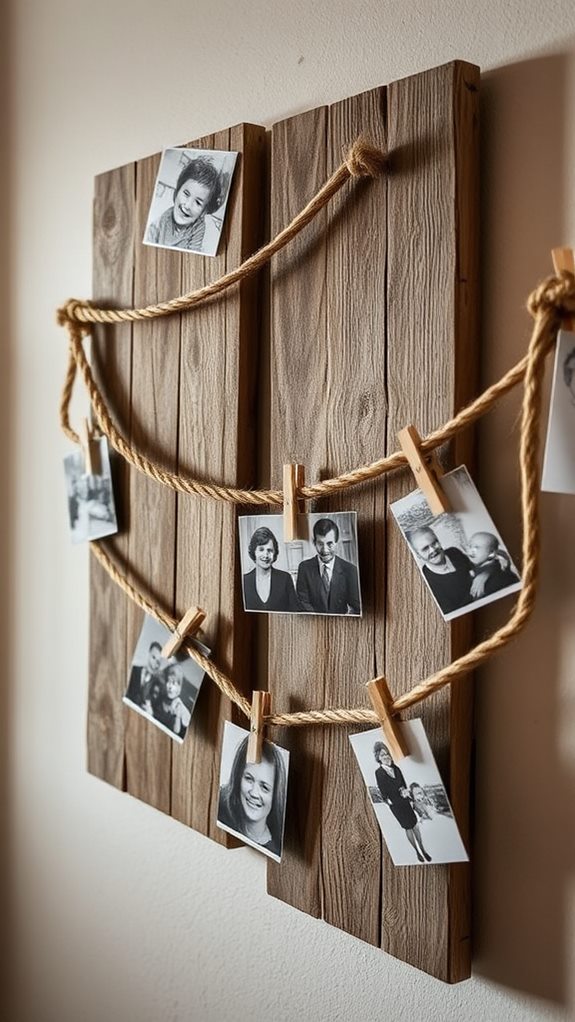
Simplicity meets rustic charm in a rope display that elevates your family photos into an artful, three-dimensional arrangement. Using natural jute or sisal rope, you'll create a cascading gallery that adds depth and texture to your wall space. This DIY rope project brings a nautical decor element while maintaining sophisticated visual appeal.
Secure your photos with mini wooden clothespins along horizontal rope lengths, varying the heights to create dynamic layers. You can anchor the ropes to decorative wall hooks or elegant brass hardware for a polished finish. For ideal aesthetic harmony, arrange your photos in a cohesive pattern—perhaps chronologically or by color scheme. The beauty of this display lies in its flexibility; you'll easily swap out photos whenever you'd like to refresh your visual story while maintaining the display's rustic elegance.
Window Pane Photo Grid
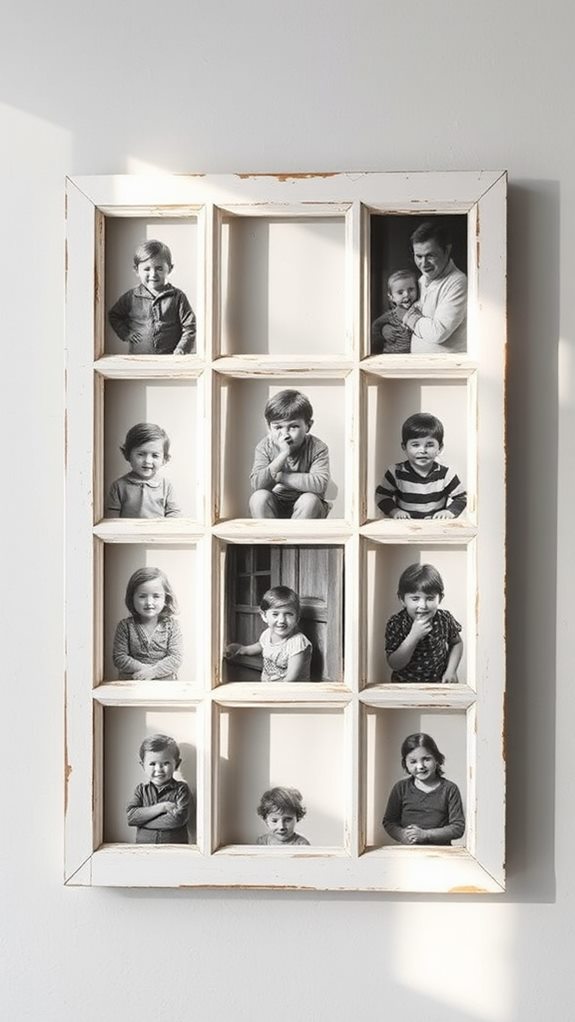
Transform your interior space by repurposing vintage window frames into sophisticated photo displays that merge architectural character with personal memories. Choose between classic six-pane colonial frames or multi-grid Victorian styles to create a stunning focal point that draws the eye while maintaining visual balance.
When planning your window pane photo grid, you'll want to contemplate photo arrangement techniques that complement the frame's natural divisions. Arrange black-and-white prints in alternating patterns, or create a cohesive story by grouping related images within adjacent panes. For maximum impact, select photos with similar tonal qualities and maintain consistent matting throughout. You can mount the frame flush against the wall or add subtle spacers to create depth and dimension. The glass panes provide built-in protection for your cherished photographs while eliminating the need for individual frames.
Hexagonal Pattern Layout
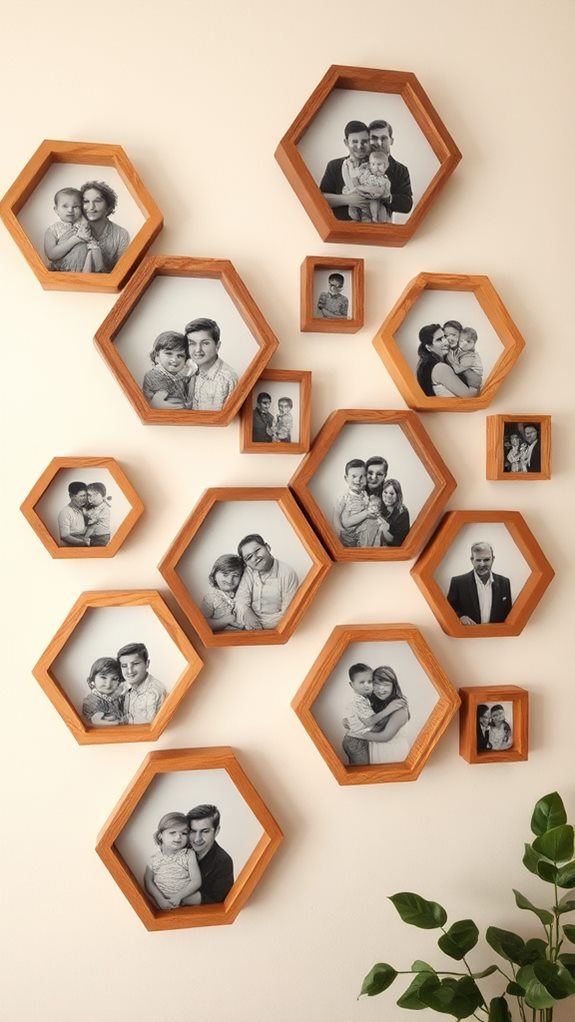
Moving beyond traditional grid patterns, hexagonal layouts offer a fresh geometric approach to photo wall arrangements. You'll find that hexagonal frame arrangements create a striking visual impact while maintaining a sense of organic flow across your wall space. The six-sided shape allows for innovative layout designs that can expand in multiple directions, giving you flexibility to grow your display over time.
To achieve this modern look, start with a central hexagon and build outward symmetrically. You can mix frame sizes while maintaining the hexagonal structure, creating depth and visual interest. Consider using frames in complementary colors or consistent finishes to unify the arrangement. The beauty of this geometric pattern lies in its ability to look both structured and dynamic, making it perfect for contemporary spaces where you want to showcase your family memories with artistic flair.
Color-Coordinated Frame Collection
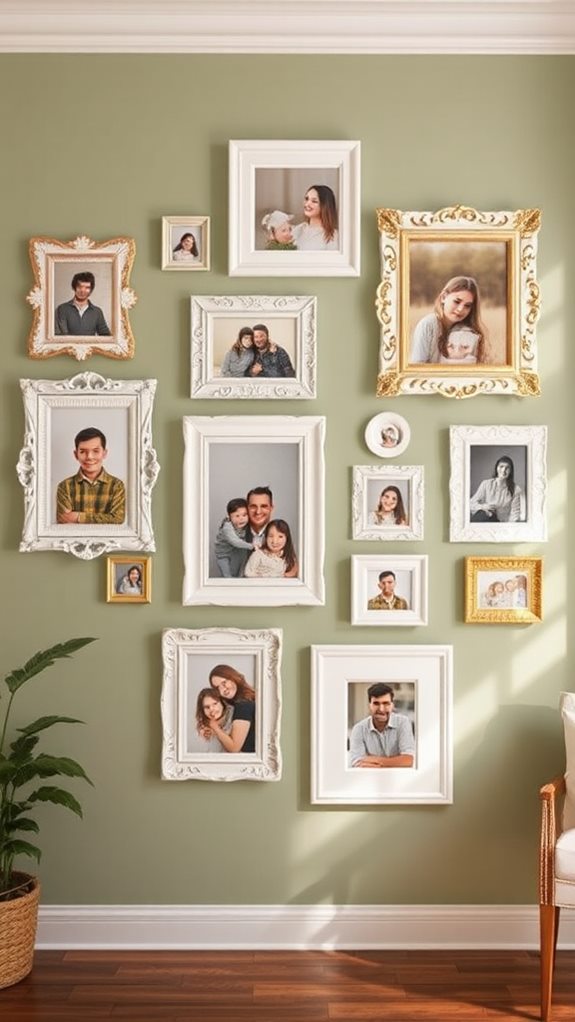
Through thoughtful color coordination, frames can orchestrate a stunning visual symphony on your walls. Select frame color combinations that complement your existing décor while creating visual interest. You'll want to contemplate mixing metallic finishes, like brushed silver and champagne gold, or stick to monochromatic variations of a single hue.
When planning your collection, evaluate your coordinating wall tones to guarantee your frames either harmonize or purposefully contrast with the background. You might choose all-white frames for a clean, contemporary look against a dark wall, or mix warm wood tones for a more organic feel. Reflect on incorporating two to three main frame colors throughout your display to maintain cohesion while adding depth. Remember to balance lighter and darker frames across the arrangement to achieve ideal visual weight distribution.
Magnetic Photo Wall
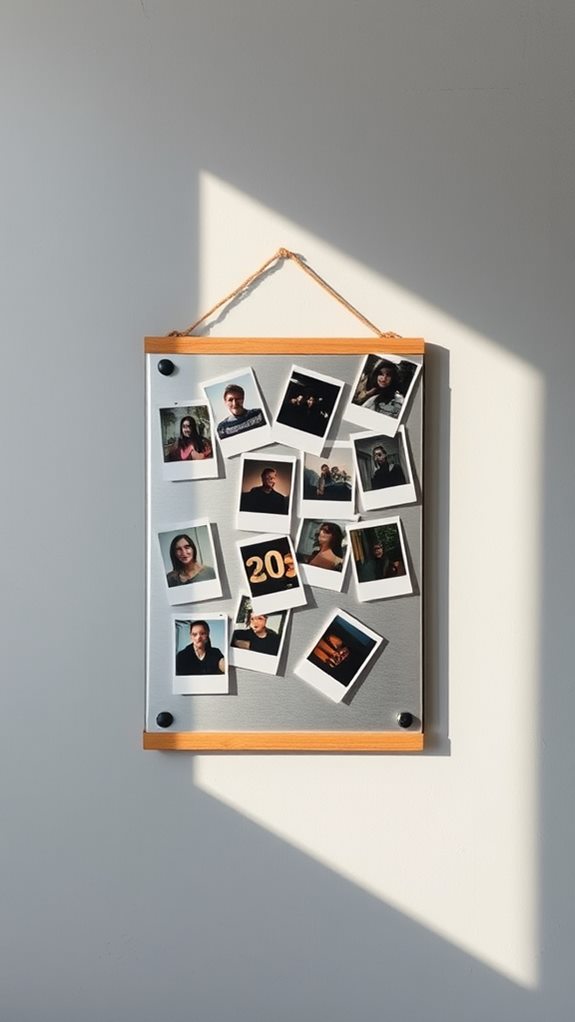
On a modern accent wall, magnetic photo displays offer an elegantly interactive way to showcase your cherished memories. You'll appreciate how magnetic frames and photo magnets attach seamlessly to specialized wall adhesives, creating a sleek, floating effect that enhances your room's modern aesthetics.
The beauty of this system lies in its flexibility – picture repositioning becomes effortless, allowing you to refresh your family memories display whenever inspiration strikes. Create unique displays by experimenting with creative layouts, from geometric patterns to free-flowing arrangements. With easy installation and customizable options, you can transform an ordinary wall into a dynamic gallery that grows with your collection. Choose from various magnetic frame styles and sizes to maintain aesthetic harmony while displaying everything from vacation snapshots to professional portraits in a cohesive, contemporary way.
Conclusion
Your home's walls are more than mere surfaces—they're canvases awaiting your family's unique narrative. Whether you've chosen a classic gallery arrangement or ventured into bold geometric patterns, these photo wall ideas transform your space into an artfully curated sanctuary. Let your memories shine through carefully selected frames and thoughtful layouts, creating a harmonious display that elevates your interior while keeping cherished moments within view.