As the holiday season approaches, you might find yourself looking for unique ways to infuse sweetness into your decor. Imagine transforming your space with giant swirled lollipop ornaments and wrapped peppermint throw pillows that capture the essence of festive cheer. These 25 DIY fake candy decoration ideas can help you create a whimsical atmosphere without the calories. Curious how you can make your home a candy wonderland? Let's explore the delightful possibilities that await you.
Giant Swirled Lollipop Ornaments

These whimsical giant lollipop ornaments bring an instant dose of sweetness to any holiday display or party decoration. You'll need basic colorful lollipop materials: white paper plates, acrylic paint, clear cellophane, ribbon, and a wooden dowel. Start by painting spiral patterns on the plates using bold, contrasting colors that'll pop against your décor.
Once dry, wrap your painted plate in clear cellophane, gathering it at the back and securing it with hot glue. Attach the wooden dowel to create the classic lollipop stick, then finish with a festive bow. For creative lollipop display ideas, try clustering them in decorative planters, arranging them along staircases, or creating a candy-themed Christmas tree. You can even hang them from doorways or mount them on walls for an eye-catching sugar-coated wonderland effect.
Glittery Candy Cane Lane
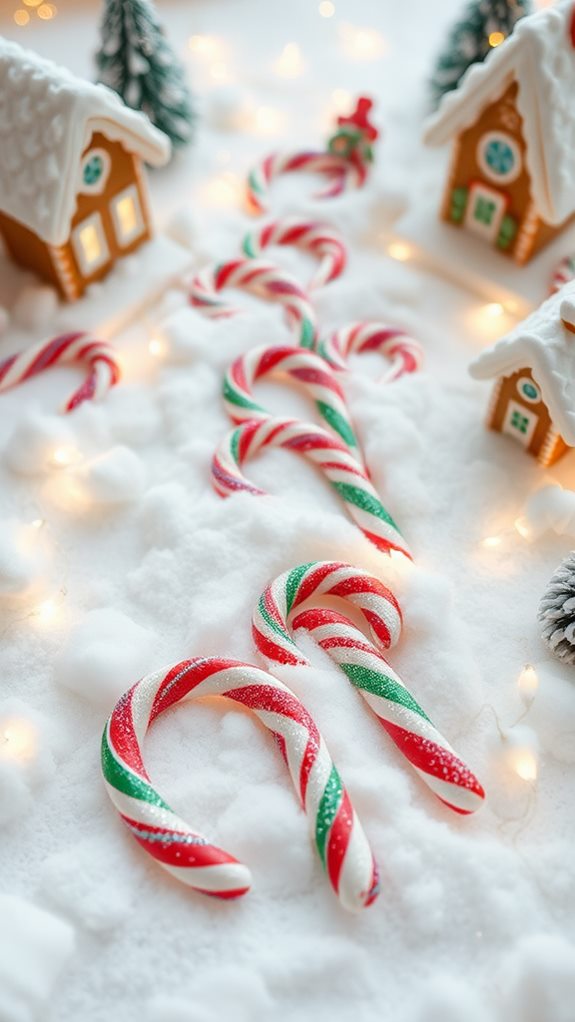
Transform your entryway or hallway into a magical candy cane lane with three basic materials – PVC pipes, white spray paint, and red glitter. Cut PVC pipes into varying heights, ranging from 3 to 5 feet, and clean them thoroughly. Spray paint each pipe with white paint and let dry completely.
For these festive candy decor pieces, mark diagonal stripes using painter's tape, then apply spray adhesive to the exposed sections. Sprinkle red glitter generously over the adhesive areas and shake off excess. Once dry, remove the tape to reveal crisp stripes. Secure your candy cane crafts into decorative bases filled with cement or rocks for stability. Space them evenly along your walkway, and consider adding LED spotlights to make them glow at night. You'll create an enchanting holiday display that's both durable and weather-resistant.
Wrapped Peppermint Throw Pillows
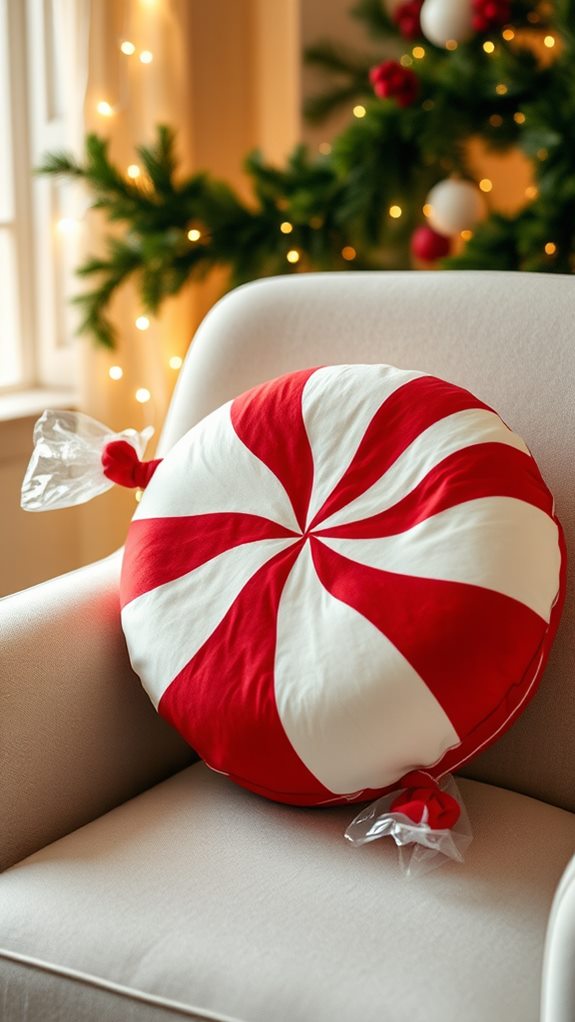
Bring classic peppermint candy charm to your living space with custom-made throw pillows that'll wow your holiday guests. Start with white cotton fabric as your base, then add swirling peppermint patterns using red fabric paint or iron-on transfers. You'll need circular throw pillow inserts to achieve that perfect candy shape.
Create the wrapped candy effect by gathering festive fabric at both ends of the pillow, securing it with clear elastic bands, then covering them with metallic ribbon or twisted cellophane. For extra pizzazz, add sparkly trim or rhinestone accents where the "wrapper" meets the pillow. Don't forget to seal any painted designs with fabric protector to guarantee your pillows stay fresh-looking throughout the season. These whimsical accessories work perfectly on couches, chairs, or arranged in a holiday window display.
Paper Mache Gumdrop Garland

Sparkle up your home with a charming paper mache gumdrop garland that captures the magic of old-fashioned candy displays. Create these whimsical decorations by crumpling colorful paper into small balls, then coating them with paper mache paste. Once dry, paint each gumdrop in vibrant holiday hues and dust them with fine glitter for that signature sugar-coated look.
String your gumdrops together using strong twine or ribbon, spacing them evenly to form a festive garland. You'll want to seal each piece with clear acrylic spray to preserve the sparkle and prevent dust from collecting. Drape your creation across mantels, doorways, or wrapped around your Christmas tree. For extra charm, mix different sizes of gumdrops and alternate colors to create eye-catching patterns that'll make your holiday décor truly sweet.
Faux Chocolate-Dipped Pinecones
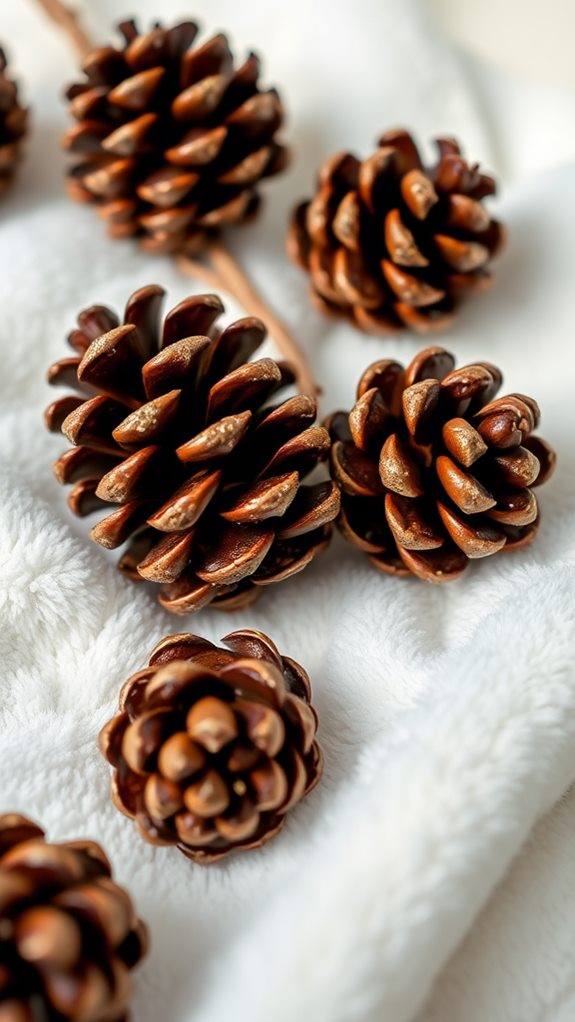
Natural pinecones get a decadent makeover when dipped in faux chocolate coating, creating stunning winter decorations that look good enough to eat. You'll need clean pinecones, brown acrylic paint, and a matte finish sealant to achieve this mouthwatering look.
Start by mixing your paint with a textural medium to create a thick, chocolate-like consistency. Dip each pinecone halfway into the mixture, allowing excess to drip off naturally – this creates realistic chocolate drips. The key to successful pinecone painting lies in building up layers gradually to mimic the texture of real chocolate coating. Once dry, add dimension by dry-brushing a slightly darker brown shade along the edges. Finish with a light dusting of bronze or copper metallic paint to create a subtle sheen that mimics tempered chocolate.
Sparkling Hard Candy Centerpiece
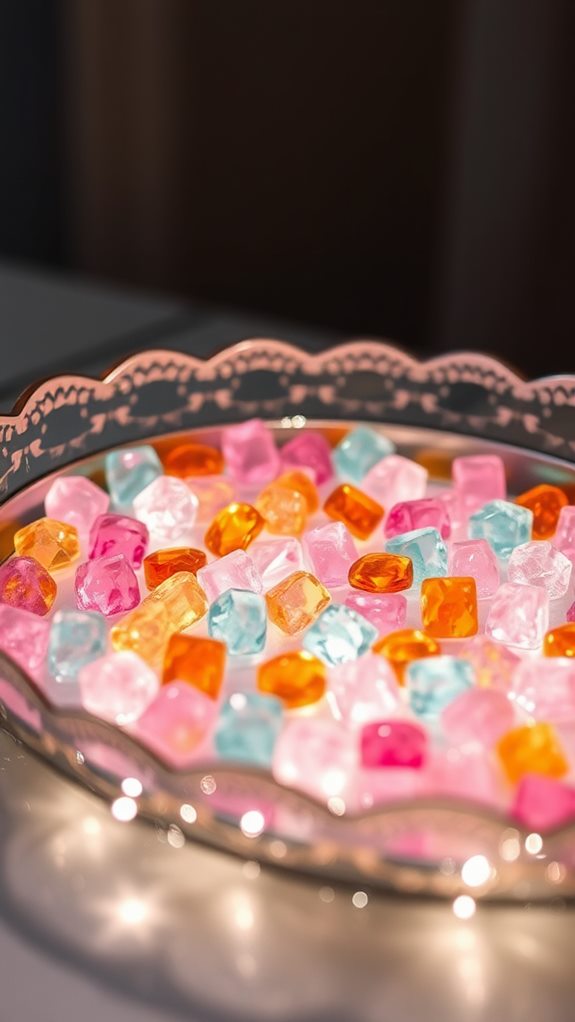
Eye-catching faux candy gems transform ordinary glass containers into dazzling centerpieces that'll brighten any holiday table. To create these sparkling decorations, you'll need clear acrylic gems, glass paint in vibrant hues, and clear-drying adhesive. Paint each gem using swirling patterns to mimic colorful candy, and let them dry completely.
Fill your chosen glass container halfway with iridescent filler or fake snow, then arrange your painted gems in eye-catching layers. Mix different sizes and colors to achieve depth and visual interest. You can coordinate your gems with festive themes by choosing traditional holiday colors or matching your existing décor. Secure a few gems around the container's rim using adhesive for an extra touch of whimsy. These centerpieces won't attract ants and can be stored away for next year's celebrations.
Cotton Candy Cloud Lights
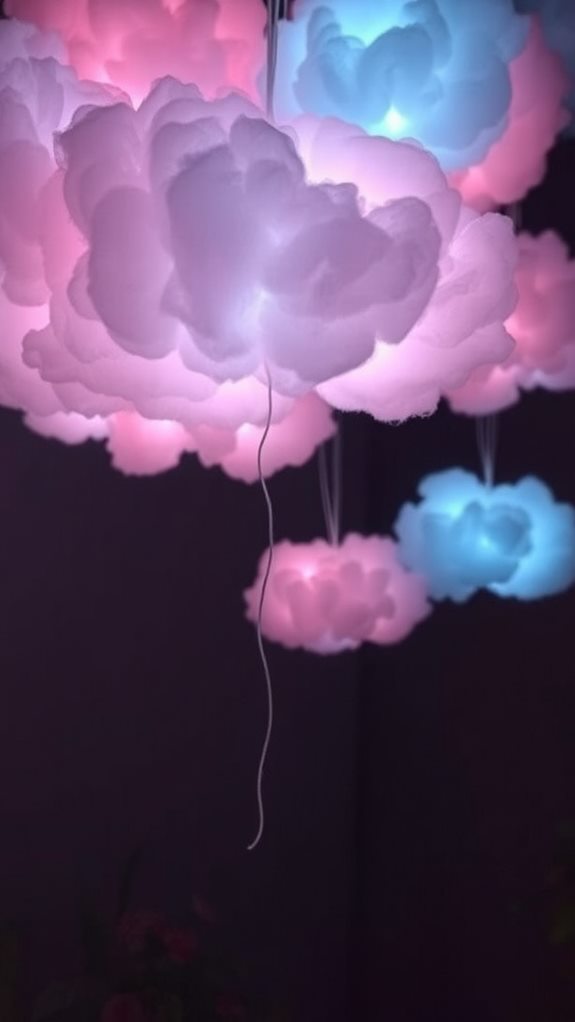
Transform any room into a whimsical wonderland with fluffy cotton candy-inspired cloud lights that create a dreamy, ambient glow. While you won't need cotton candy recipes or cotton candy machines for this project, you'll capture their magical essence using simple materials.
Gather white polyester fiberfill, battery-operated LED string lights, clear fishing line, and white tissue paper. Start by gently pulling apart the fiberfill into wispy layers, just like real cotton candy's texture. Wrap the LED lights throughout the fiberfill, ensuring they're evenly distributed. Layer tissue paper between sections to add dimension and reflect light. Secure your cloud shape using clear fishing line to stitch through key points. Hang your illuminated clouds at varying heights from the ceiling, creating a soft, floating effect that mimics fresh-spun cotton candy.
Peppermint Swirl Door Wreath
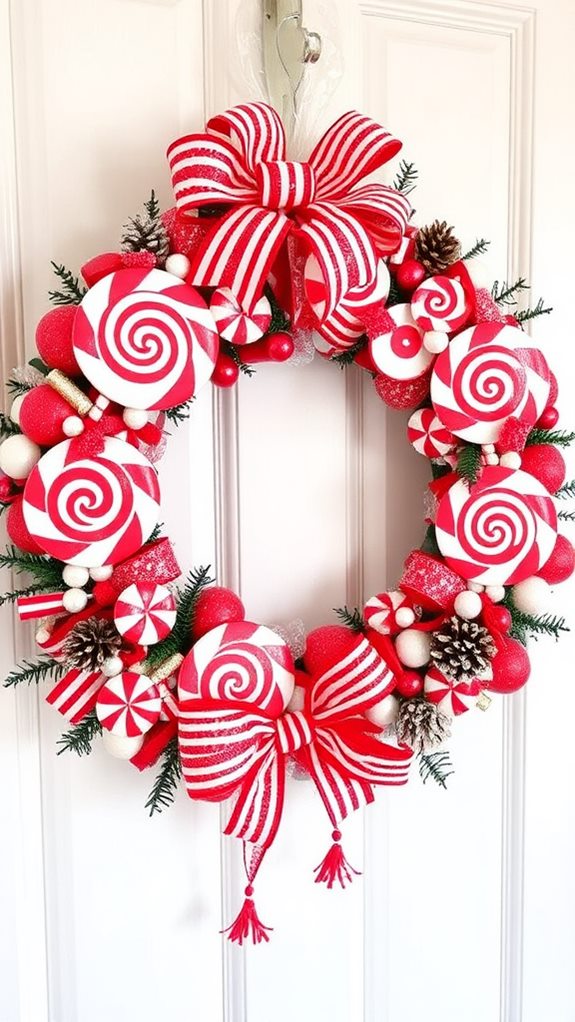
This festive wreath brings the iconic red and white swirls of peppermint candy to life as a stunning door decoration that'll wow your holiday guests. To create this eye-catching piece, you'll need a foam wreath form, white and red felt strips, hot glue, and ribbon for hanging.
Start by wrapping the foam form with white felt as your base. Next, create the signature peppermint swirl pattern by alternating red and white felt strips in a spiral formation. Secure each strip with hot glue as you work your way around. For extra sparkle, add touches of glitter or metallic paint to mimic the sheen of real candy.
Unlike traditional holiday wreaths, this DIY decoration won't fade or deteriorate, making it a perfect addition to your collection of lasting seasonal decor.
Candied Window Clings
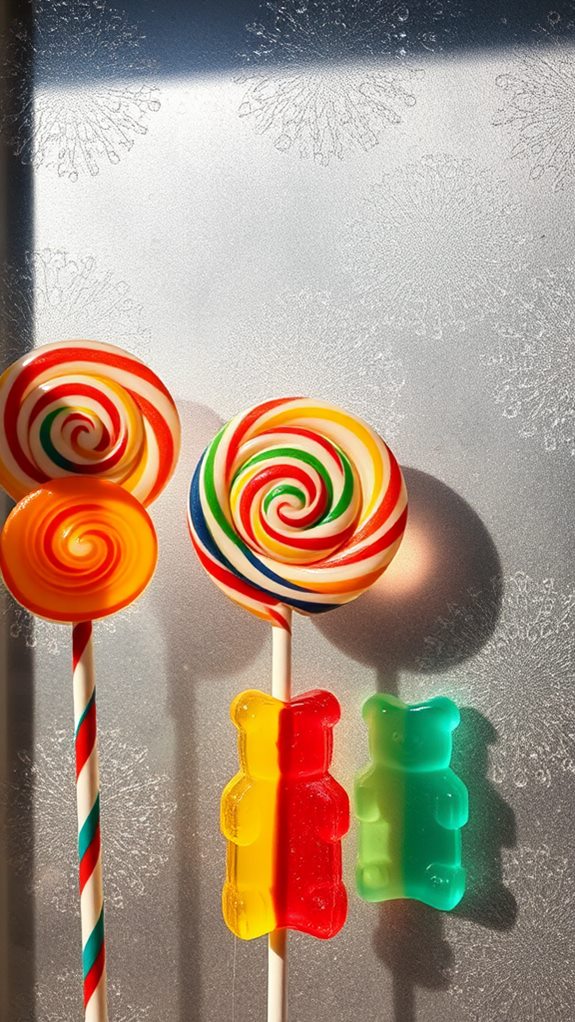
Moving from door decor to windows, colorful candied window clings bring a sweet touch of whimsy to any glass surface in your home. These candy themed crafts are easy to create using clear window cling material and colorful permanent markers or window paints. You'll love designing lollipops, gumdrops, and candy canes that stick to any glass without adhesive.
Start by printing or drawing your favorite candy shapes onto paper as templates. Transfer these designs onto the cling material, then add vibrant colors and details like stripes, swirls, or sparkles. This edible inspired art transforms ordinary windows into a delightful display that catches sunlight beautifully. Place them strategically at different heights for visual interest, and don't forget – they're reusable and can be stored flat for next year's decorating.
Ribbon Candy Tree Toppers
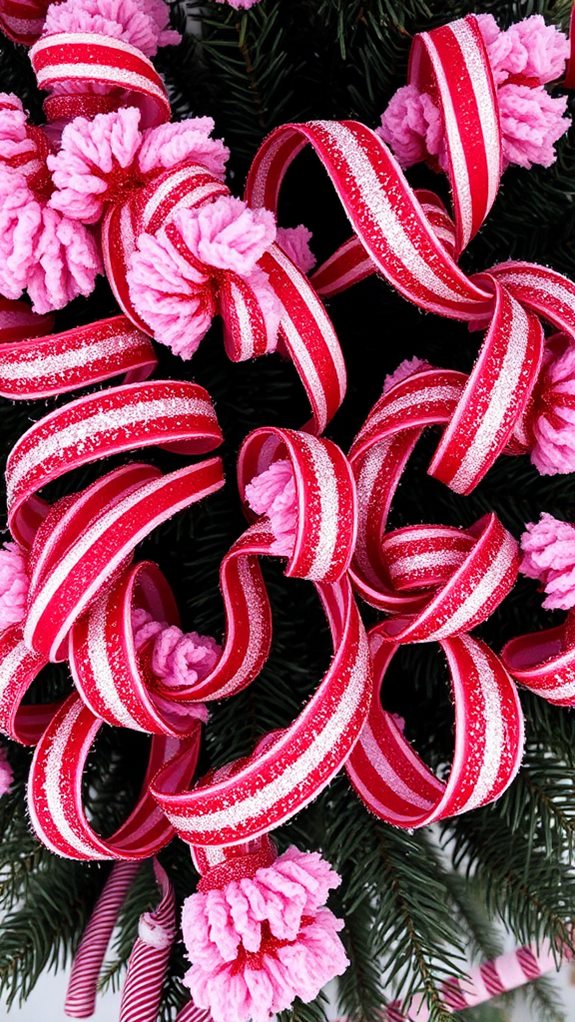
Every holiday tree deserves a unique finishing touch, and handcrafted ribbon candy tree toppers offer a charming twist on traditional stars or angels. You'll love creating these whimsical decorations using basic candy making techniques, minus the sticky mess. Start with sturdy craft wire as your base, then wrap it with shimmery ribbon in candy themed colors like peppermint red, spearmint green, or butterscotch gold.
Shape your ribbon-wrapped wire into classic ribbon candy swirls, keeping the curves uniform and tight. Secure each fold with clear craft glue, and add sparkly accents with glitter or metallic paint for that sugar-coated effect. Don't forget to create a stable base attachment that fits securely on your tree's top branch. These eye-catching toppers will transform your holiday tree into a delightful candy wonderland.
Gingerbread House Display Pieces
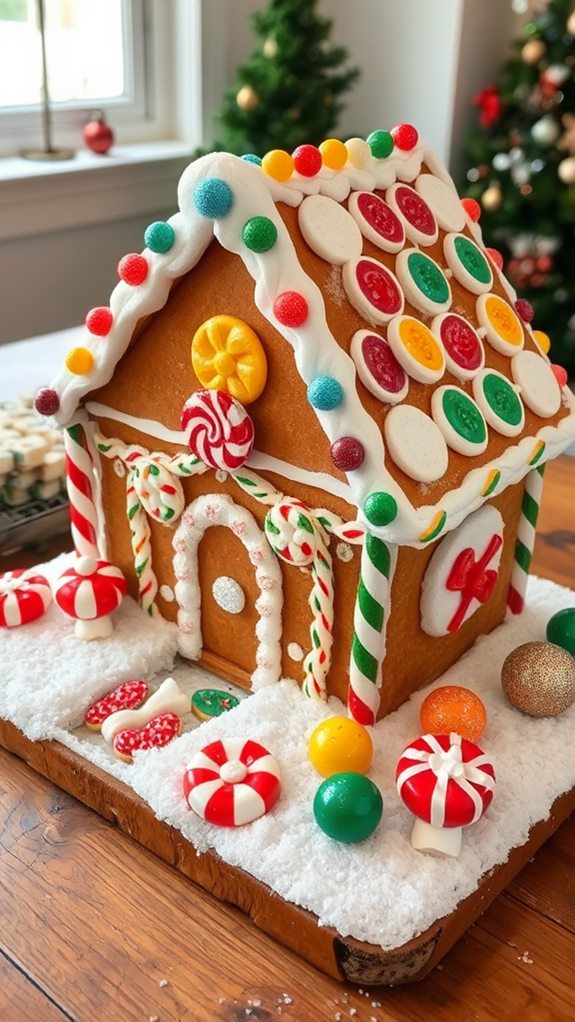
Realistic gingerbread house decorations bring nostalgic charm to your holiday displays without the worry of spoilage or pests. You'll need foam board, brown acrylic paint, white caulk, and various craft materials to create these lasting pieces. Cut and assemble the foam board into house shapes, then paint with textured brown paint to mimic baked gingerbread.
Create a delightful gingerbread village by crafting houses in different sizes and styles. Use white caulk to pipe realistic "frosting" details onto rooflines, windows, and doors. Add faux candies made from polymer clay, painted wooden beads, and glossy paper cutouts. These permanent display pieces work perfectly for a candy themed party centerpiece or seasonal decor. Position battery-operated tea lights behind the windows to create a warm, inviting glow.
Taffy Twist Mantel Swags
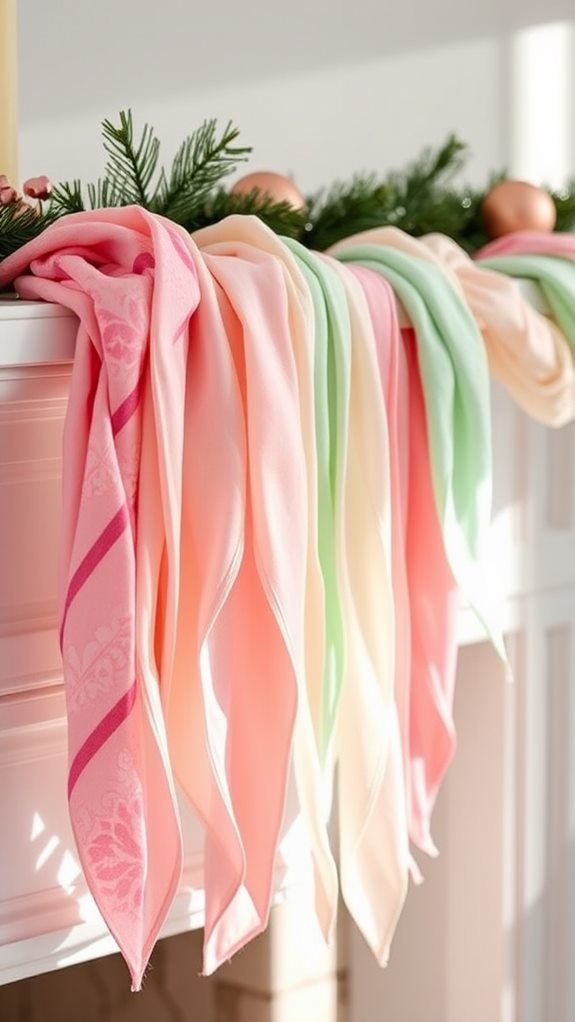
Transform your mantel into a whimsical candy wonderland with colorful faux taffy twist swags. You'll need foam pool noodles, cellophane in various colors, and clear fishing line to create these eye-catching decorations. Cut the pool noodles into 3-foot sections, wrap them diagonally with cellophane, and twist to achieve that classic taffy look.
Mix and match taffy color combinations like peppermint red and white, butterscotch yellow and orange, or holiday green and gold for a festive touch. Secure your swags with clear command hooks, and drape them gracefully across your mantel. When the season's over, protect your creations with smart taffy storage solutions – wrap them in bubble wrap and store them in long plastic bins to maintain their shape for next year's display.
Frosted Candy Ornament Collection
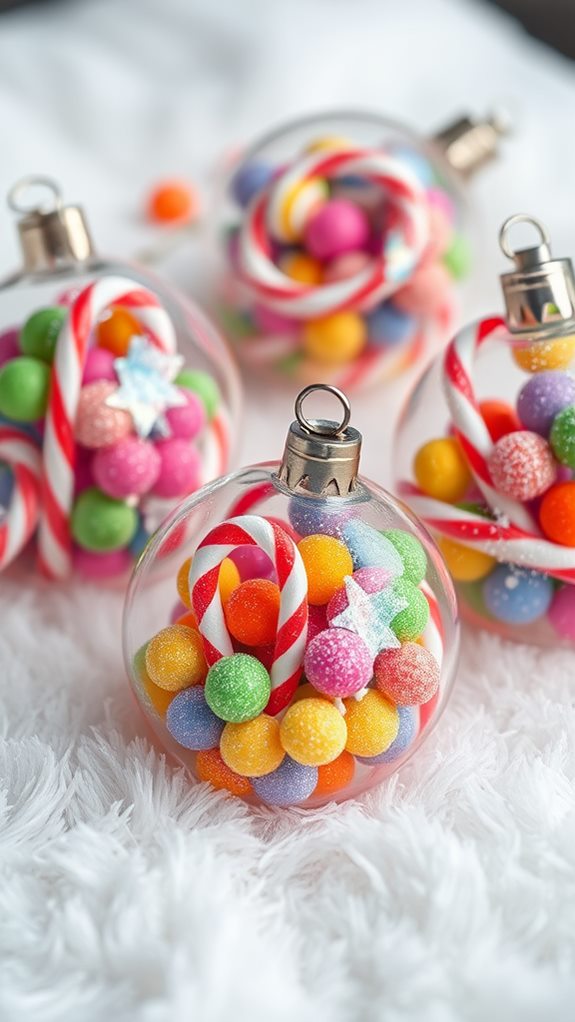
Create dazzling frosted candy ornaments to add sparkle and sweetness to your holiday décor. Transform clear glass or plastic ornaments into faux candy masterpieces using white craft paint, iridescent glitter, and pearlescent spray. Roll the ornaments in a mixture of epsom salt and fine glitter for a crystallized sugar effect that catches the light beautifully.
For varied decorative sweetness, craft different candy styles: paint swirling peppermint stripes on some ornaments, create rock candy clusters using clear beads and glitter, or design gummy bear shapes with translucent paint. Don't forget to seal your creations with a clear protective coating to preserve their shimmer. Hang these treats from your tree, arrange them in glass bowls, or string them together for a unique garland that brings whimsical charm to any room.
Life-Size Lollipop Garden Stakes

Brighten up your garden paths and flower beds with charming life-size lollipop stakes that'll make your outdoor space look like a scene from Candyland. Create these whimsical decorations using plastic plates, PVC pipes, and weather-resistant paint in vibrant lollipop colors like cherry red, lemon yellow, and mint green.
To craft your sweet garden additions, paint the plates in swirling patterns, then secure them to 4-foot PVC pipes using strong outdoor adhesive. Wrap the poles in white weatherproof tape to mimic candy stripes. You can coordinate your lollipop colors with existing garden themes or create themed sections like a rainbow row or pastel corner. Don't forget to seal your creations with clear weatherproof coating to protect them from rain and sun. Space the stakes evenly along pathways or cluster them near entrance points for maximum impact.
Candy Bar Throw Blanket
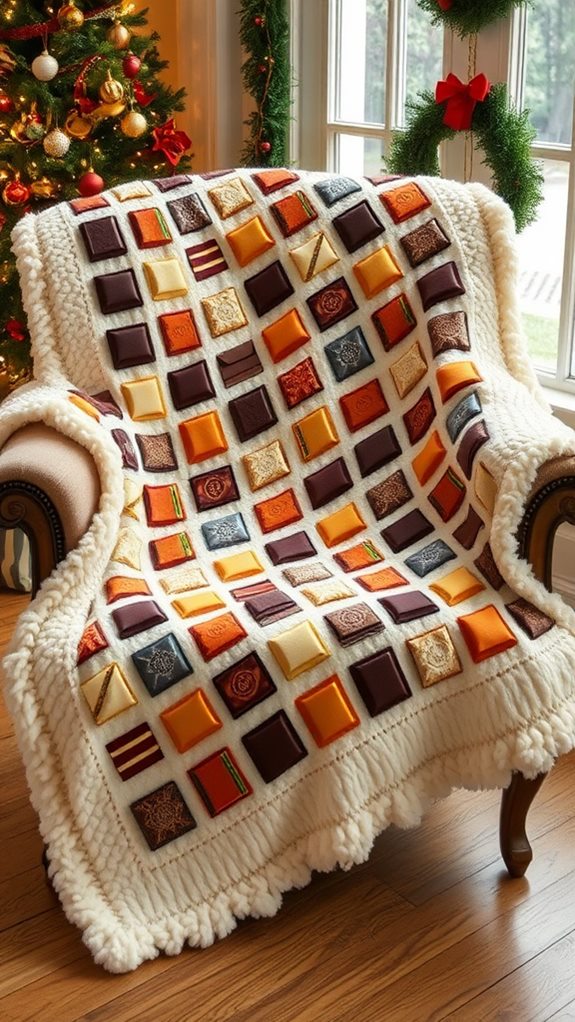
Moving from outdoor candy decor to cozy indoor comfort, this candy bar throw blanket brings sweet dreams to your living space! Create a delightfully snuggly accent piece using candy themed fabric in rich chocolate browns and metallic wrapper tones. You'll need two yards of fleece material, fabric scissors, and basic sewing supplies.
Start by cutting your main fabric into a rectangle measuring 50 by 60 inches – perfect for curling up on the couch. Add metallic fabric strips to create the iconic wrapper edges, and stitch on puffy letters spelling out your favorite candy bar name. The finished blanket delivers cozy holiday vibes while adding a playful touch to your decor. Don't forget to add a soft fleece backing for extra warmth. This whimsical throw doubles as both a conversation starter and a practical comfort piece.
Spun Sugar Light Fixtures
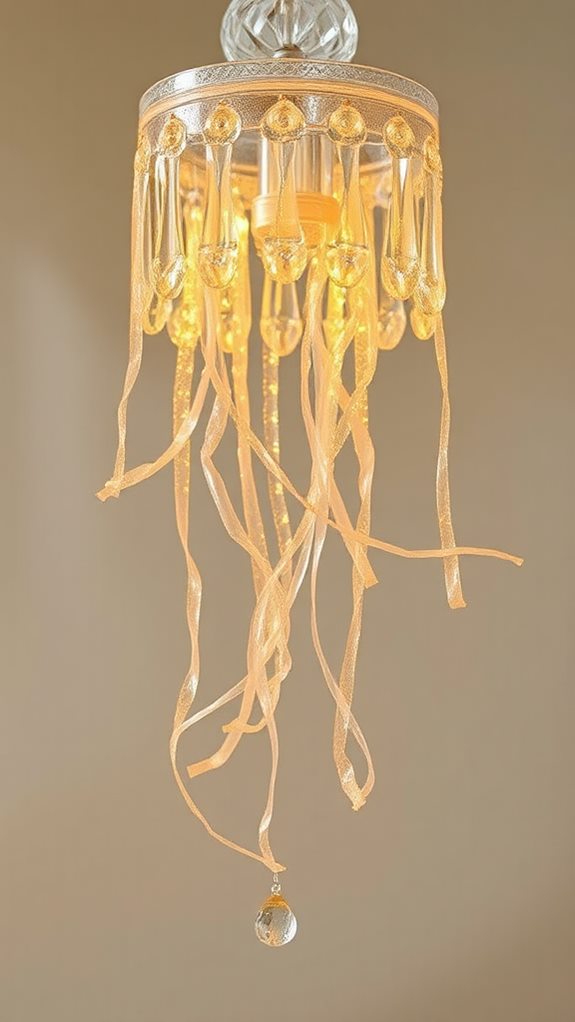
Transforming ordinary pendant lights into whimsical spun sugar fixtures adds a magical touch to any room's ambiance. You'll need clear plastic sheets, a heat gun, and acrylic paint in your chosen spun sugar colors to create these ethereal lamp covers. Cut the plastic into thin strips, then carefully heat and twist them using traditional spun sugar techniques to achieve that characteristic wispy, web-like appearance.
Layer multiple twisted strands around your light fixture's frame, securing them with clear adhesive. You can incorporate soft pastels like cotton candy pink and baby blue, or stick to crystalline white for a more elegant look. Don't forget to maintain proper distance between the plastic and bulb to prevent heat damage. These delicate-looking fixtures cast beautiful shadow patterns while providing a playful, candy-inspired accent to your decor.
Rock Candy Icicle Ornaments
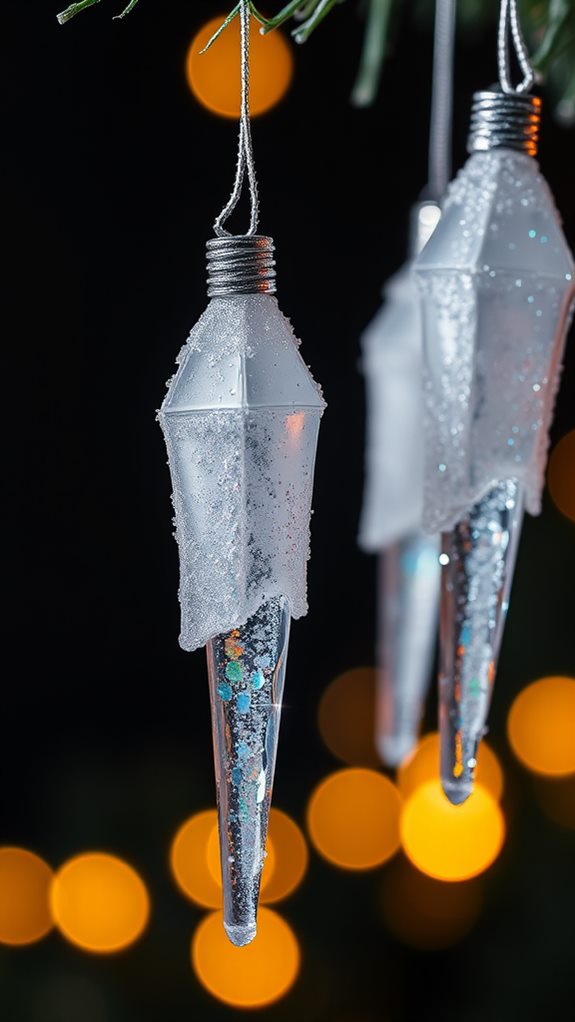
Much like their illuminated cousins, rock candy icicle ornaments bring crystal-clear charm to your seasonal decor. You'll create these sparkling beauties using basic holiday crafting techniques and materials that mimic traditional rock candy recipes. Start with clear acrylic icicle forms, then coat them with a mixture of epoxy resin and iridescent glitter. Layer on chunky clear crystals in varying sizes to achieve that signature crystallized sugar look.
To enhance the authentic appearance, you'll want to cluster the crystals more densely at the top, gradually spacing them further apart toward the pointed end. Add a touch of white paint between crystal layers to create a frosted effect. Don't forget to seal your creation with a UV-resistant clear coat to prevent yellowing and guarantee your icicles maintain their candy-like sparkle year after year.
Peppermint Plate Wall Display
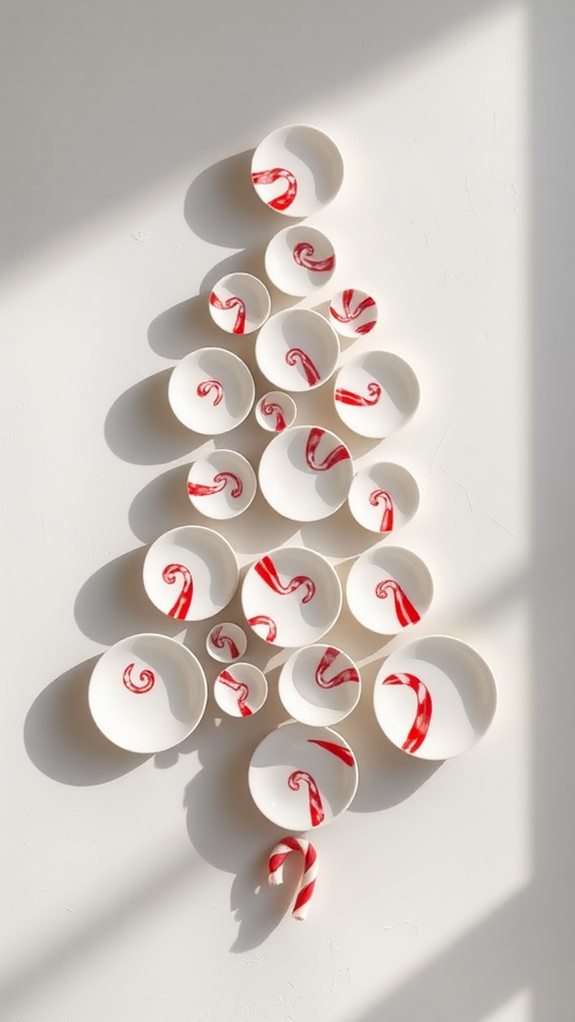
A classic peppermint twist gets a modern makeover in this eye-catching wall display made from decorative plates. You'll need a collection of white and red plates in varying sizes, plus some sturdy plate hangers and a measuring tape to create this striking focal point.
Start by laying out your plates on the floor to plan your peppermint color scheme. Mix solid red plates with white ones, and don't forget to include a few swirled designs that mimic candy stripes. Space the plates about 4-6 inches apart in your festive plate arrangement, creating either a circular pattern or cascading diagonal design. Mount the largest plates first as anchor points, then fill in with medium and smaller sizes. You'll transform a blank wall into a whimsical candy wonderland that's perfect for holiday entertaining.
Candy Shop Window Boxes
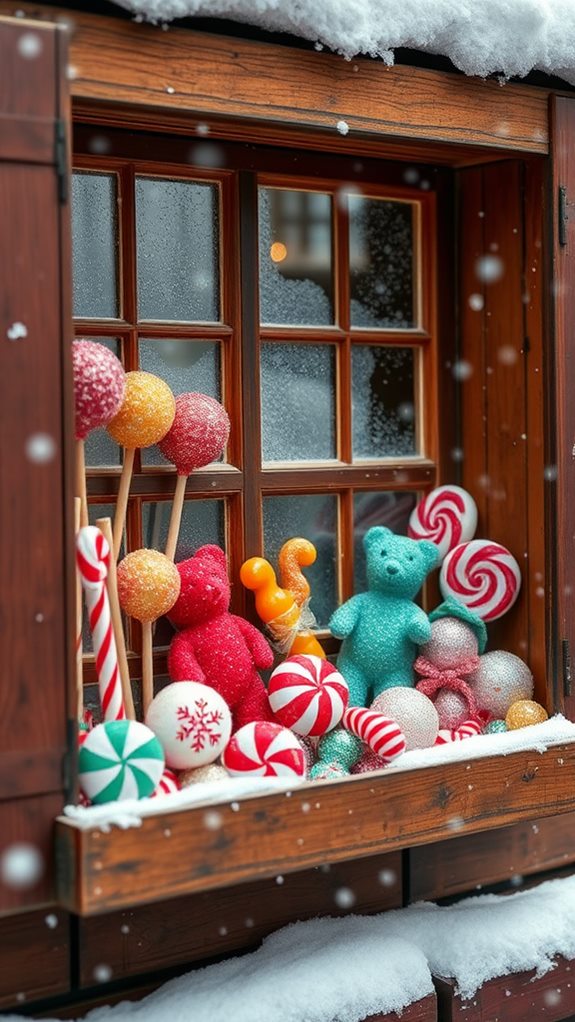
Bring the sweet charm of an old-fashioned candy shop right to your windowsills with these playful decorative boxes! Transform ordinary wooden boxes into festive window displays using foam, paint, and clear acrylic pieces that mimic wrapped candies. You'll need to arrange these faux treats in neat rows, just like a real candy shop display.
Start by painting your boxes in vintage-inspired colors like cream, mint, or pale pink. Create candy box arrangements using styrofoam balls wrapped in cellophane for lollipops, rectangular foam blocks covered in metallic paper for chocolate bars, and twisted tissue paper for old-fashioned candies. Secure each piece with hot glue, then add price tags and labels using aged cardstock. Don't forget to include battery-operated LED lights to make your display glow invitingly during evening hours.
Holiday Candy Jar Luminaries
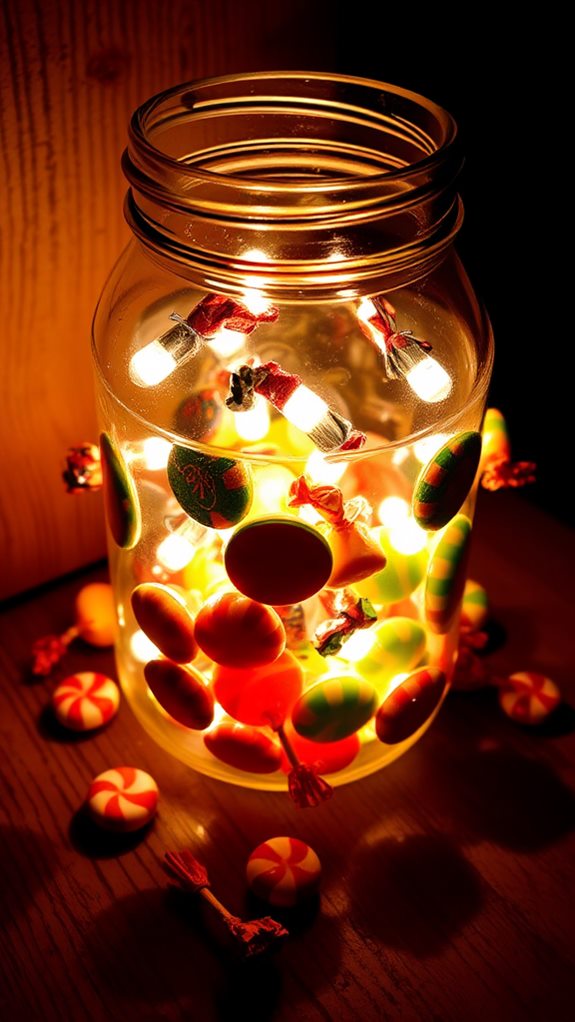
Creating magical holiday ambiance becomes effortless with illuminated candy jar luminaries that sparkle like sugar-coated treasures. You'll transform clear glass jars into dazzling light displays using faux peppermints, gumdrops, and candy canes secured to the jar's exterior with strong craft adhesive.
To achieve the perfect holiday glow, place battery-operated LED tea lights inside each jar and arrange your candy decorations in eye-catching patterns. You can spray the jars' interior with frosted glass paint to diffuse the light beautifully. Mix different candy styles and colors to create unique themes – try red and white for a classic peppermint look, or rainbow hues for a festive ambiance. Position these luminaries along your mantel, staircase, or as centerpieces to cast a warm, enchanting light throughout your holiday gatherings.
Sweet Treat Table Runner
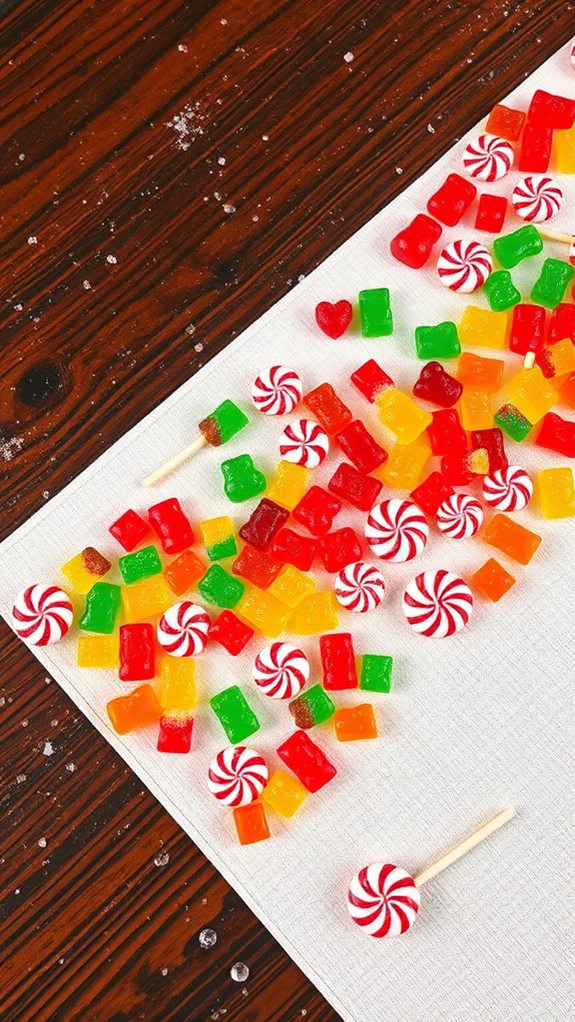
Transform your dining table into a whimsical wonderland by crafting a charming table runner made entirely of faux candy decorations. Using colorful felt as your base material, you'll create an eye-catching centerpiece that'll last throughout the holiday season. Cut the felt to your desired runner length, adding an extra inch on each side for clean edges.
Bring your runner to life with candy themed embroidery featuring lollipops, peppermints, and candy canes. You can add dimension by layering different felt colors and creating raised elements with simple stuffing techniques. Secure each candy design with tight stitches, and don't forget to add sparkly details using metallic thread or small sequins. For extra durability, reinforce the bottom with interfacing to prevent stretching when you're displaying your sweet creation.
Candyland Path Markers

Along garden paths and walkways, oversized candy decorations serve as whimsical markers that'll guide your guests through a real-life Candyland experience. Create giant lollipops using foam circles mounted on PVC pipes, then wrap them in cellophane and secure with ribbons. You'll want to space these every few feet for maximum impact.
For candy cane construction, use curved PVC pipes painted with weather-resistant red and white stripes. Anchor them firmly in the ground using stakes or garden spikes. While these aren't edible candy markers, they're durable enough to withstand outdoor conditions. Complement your path markers with oversized gumdrops made from painted flower pots turned upside down and coated with sparkly craft sand for a sugar-like effect. Seal all decorations with weatherproof clear coat to protect against rain and snow.
Licorice Twist Tree Garland
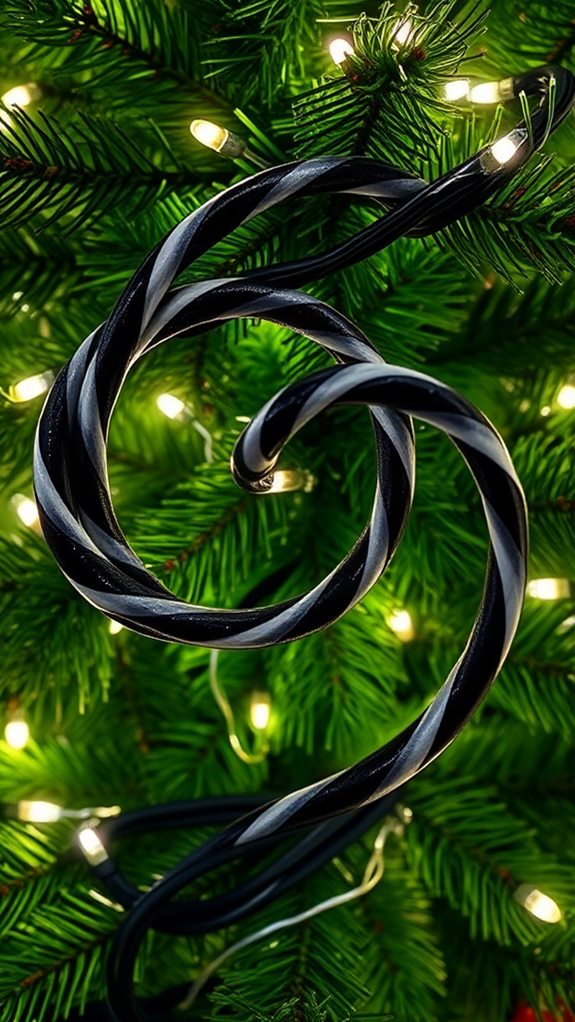
A whimsical licorice twist garland adds a playful touch to your indoor or outdoor trees while capturing the spirit of a candy-themed wonderland. To create this eye-catching decoration, you'll need foam pool noodles in red or black, gloss spray paint, and strong twine.
Cut the pool noodles into 12-inch sections, then slice them lengthwise to create a spiral twist effect. After painting the pieces to achieve a shiny licorice appearance, thread them onto the twine, spacing them 6 inches apart. Your licorice tree garland crafting becomes easier when you pre-drill small holes through each twisted piece. For outdoor displays, seal the foam with weatherproof coating to protect against moisture. Wrap your creation around trees in a spiral pattern, securing loose ends with clear zip ties for a professional finish.
Bubblegum Ball Bouquets
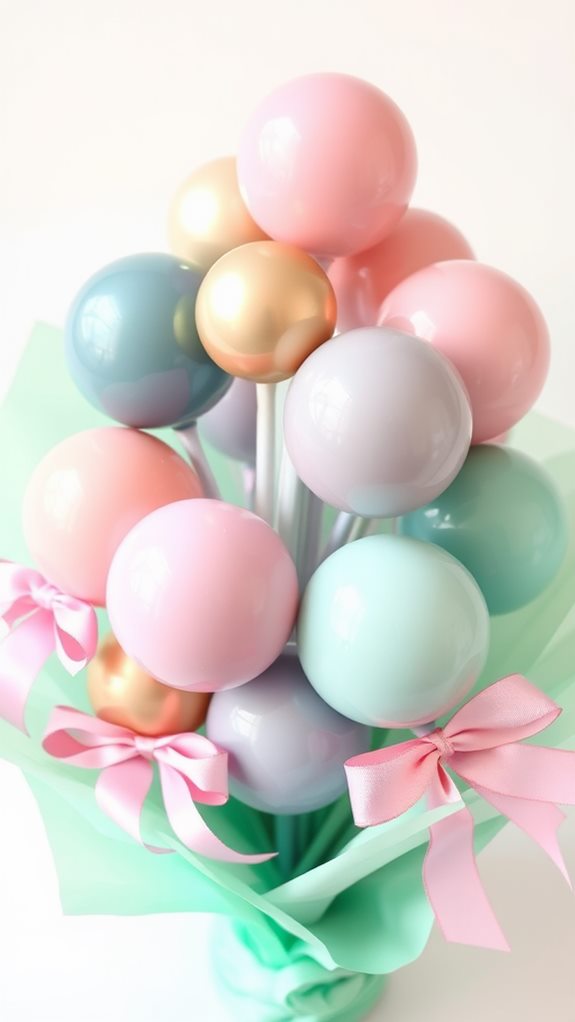
Create charming centerpieces with playful bubblegum ball bouquets that'll bring a burst of color and whimsy to any candy-themed display. Start by gathering foam balls in various sizes, coating them with glossy acrylic paint in classic bubblegum color schemes like pink, blue, and purple. Mount these painted spheres onto wooden dowels, and secure them with hot glue for stability.
For added authenticity, spray your bubblegum ball bouquets with bubblegum scent infusion before arranging them in a decorative vase or container. Mix in some artificial leaves and twisted wire stems to create dimension. You'll want to position the larger "gumballs" at different heights, with smaller ones filling the gaps. Finish by wrapping the vase with striped ribbon or decorative paper to complete your sweet-themed arrangement.
Sugar Plum Stair Decorations
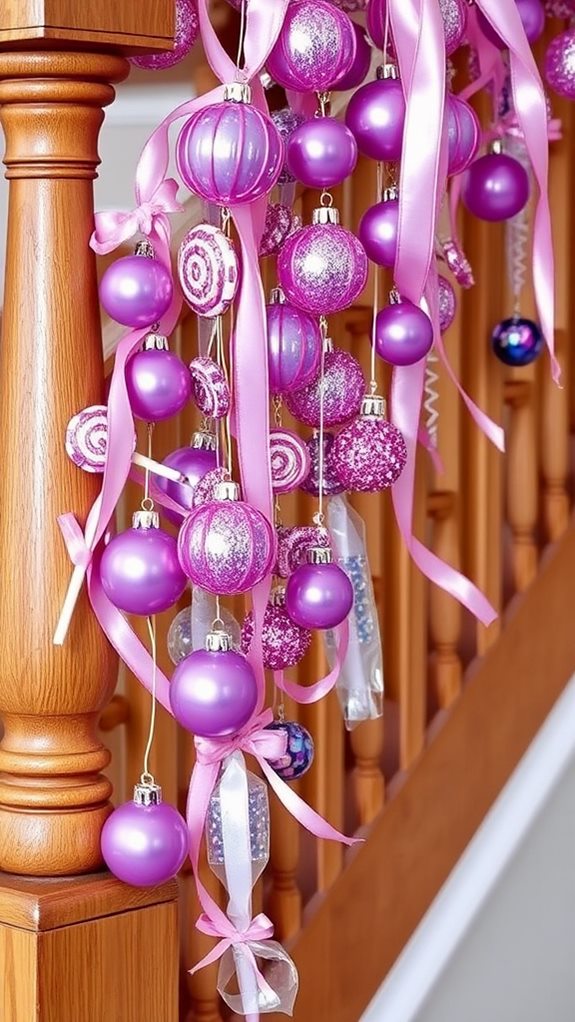
Transforming your staircase into a magical sugar plum wonderland lets you extend your candy-themed decor beyond traditional display areas. Create oversized sugar plums using foam balls painted in deep purples and dusted with iridescent glitter. Attach them to your banister with purple and silver ribbons at varying heights for a whimsical staircase effect.
Add twinkling fairy lights between the sugar plums to capture the enchanting spirit of the sugar plum fairy. You'll want to secure small battery-operated LED strands under each decoration. For extra sparkle, hang crystal-like acrylic drops alongside your sugar plums. Complete the look by wrapping grape-colored tulle around the banister and tucking in artificial silver leaves. Don't forget to spray a light coat of glitter hairspray over the entire display for an enchanted, sugar-frosted finish.
Conclusion
Now that you've got these 25 delightful DIY fake candy decoration ideas, it's time to release your creativity! Transform your home into a sugary wonderland that'll dazzle your family and friends this holiday season. With a little imagination and some crafty supplies, you can create vibrant, festive pieces that spread joy and cheer everywhere. So grab your glue gun, gather your materials, and let the sweet fun begin—your holiday celebrations are about to get a whole lot sweeter!